PS: If you’re looking for a project to practice the Fisherman’s Rib, check out the Fisherman’s Rib Baby Blanket.
PPS: If you’d also like to try the brioche stitch, I’ve got tutorials for how to knit basic brioche and how to fix it too. Because of course I do. ;)
How to Knit Fisherman’s Rib Stitch
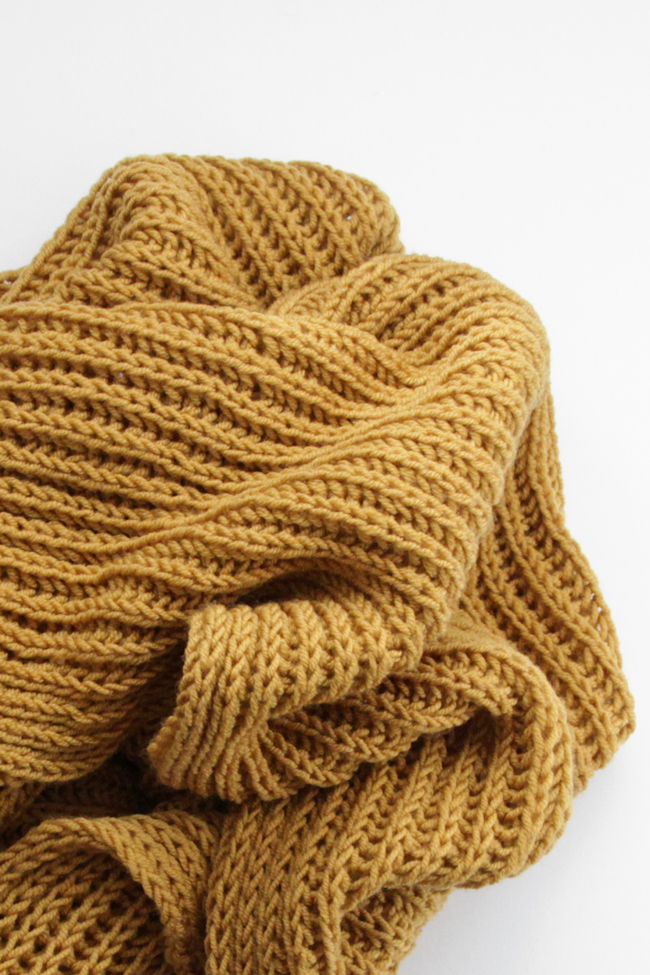
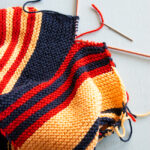
Your basic Fisherman’s Rib Stitch is a simple 1 over 1 rib stitch (a.k.a. k1, p1), with one critical difference: the k1s are worked in the row below. The abbreviation for a knit 1 below is k1b. This video walks you through how to knit Fisherman’s Rib, based on the instructions in Barbara Walker’s legendary stitch dictionary, A Treasury of Knitting Patterns (p. 44 to be exact!).
How to Fix Fisherman’s Rib Stitch
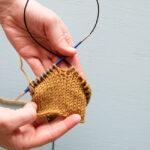
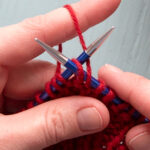
To “tink” is to unknit or knit backwards (“tink” is the word “knit” spelled backwards, get it?). When you tink Fisherman’s Rib, you can’t just knit backwards like with regular knit stitches since the knit stitches are knit in the row below. There’s an extra stitch involved that’s both crossed over and pulled up onto your needle when you tink it. Check out this video for how to successfully tink Fisherman’s Rib to go back and fix mistakes, and there are also a couple tips about laddering down and using lifelines to make tearing back a breeze.
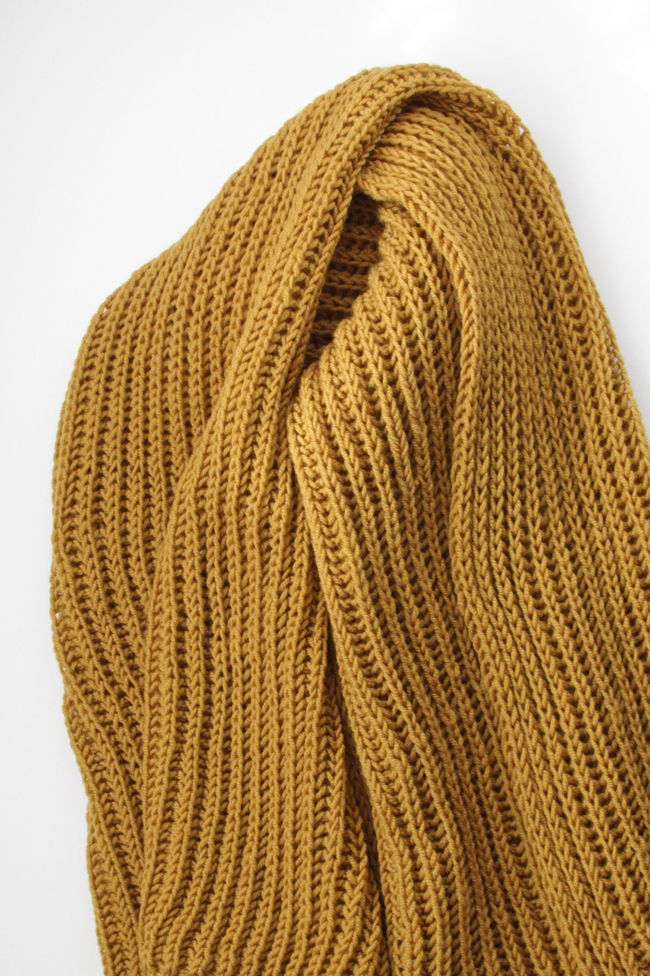
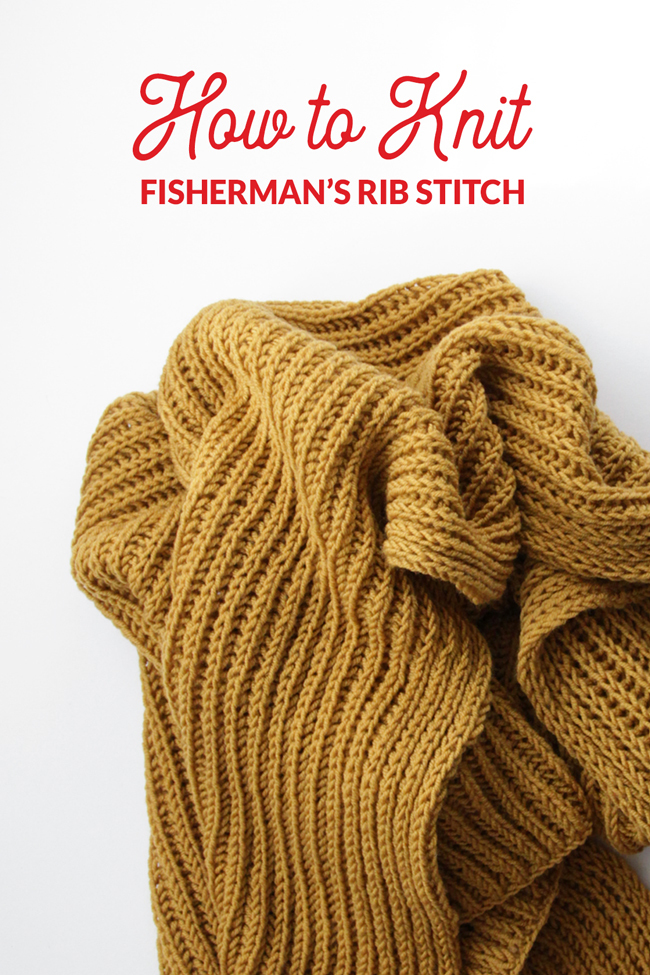
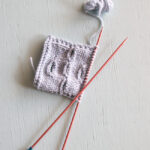
Yarn pictured was provided by Lion Brand Yarn, and it’s LB Collection Superwash Merino yarn in Dijon.


Wonderful tutorials, very clearly presented. Thank you.
You’re most welcome!
Is it possible to put in a reactive lifeline in this stitch? I haven’t been able to find any information about how to do this.
Since you’re knitting into the stitch below, I’m not sure. I pretty much use reactive lifelines in stockinette and other simple stitches, but I’ve never tried it with fisherman’s rib. Sorry I’m not more helpful here, it’s such a good question! If you end up finding any good tips, please holler! I’d love to learn. -Heidi
very clear and useful I shall certainly put lifelines in I haven’t done fisherman knit since I was young and I am now over 80and also do the tink. Is there a book I can buy useful for doing various knit stitches, ( a sort of Bible). I have recently during the pandemic made 8 sweaters for grandchildren and enjoyed taking up knitting again
That’s wonderful, Nina! Far and away, my #1 go-to stitch bible is Barbara Walker’s series of stitch dictonaries. She did a total of four, but one and two in the series will keep you literally in stitches for quite awhile!
Book one: https://www.amazon.com/Treasury-Knitting-Patterns-Barbara-Walker/dp/0942018168
two: https://www.amazon.com/Second-Treasury-Knitting-Patterns/dp/0942018176/ref=sr_1_4?dchild=1&qid=1611612642&refinements=p_27%3ABarbara+G.+Walker&s=books&sr=1-4
You’re also on my wavelength. While I was on break the last couple weeks, I knocked out a sweater body really quick. ;) -Heidi
Heidi, thank you for the video on how to tink back with fisherman’s rib. It has saved the day as I continue to progress through a sweater with only this stitch knit in the flat. I learned how to frog it back to the problem but was hoping for exactly this information!! I searched for days and finally found your post and video. It works like a charm!!! I am soooo grateful!
Hello Heidi,
This is great.
Do you have any advice on how to too a P1B stitch made in error?
Is it just one row down?
First time trying this stitch, which I’m loving, but got into a pickle when I made a mistake and went to tink! So far your video is the only one I’ve found that truly explain how to tink this stitch! Thank you!!!