First off, welcome to the first blog post of the Spiral Hill Sweater Vest Knit Along, running for the month of October. Everything you need to know about knit along logistics can be found in this blog post. Since the book/pattern reveal was just last Tuesday, I realize folks might still be waiting for yarn and books to arrive. For that reason, we’re starting the knit along with a lesson* in gauge, everyone’s favorite subject in knitting! For real though, the topic of how to knit intarsia that doesn’t look squished, stretched, or otherwise suspicious consistently comes up in emails & comments I get from knitters. (The other topic is weaving in ends, but that will be something we talk about in a few weeks!)
*This is an educationally-focused knit along, I’m going to refer to each blog post & video as a lesson. I tried to come up with something cute, but all of my ideas were too confusing. 
On to the lesson!
Spiral Hill Sweater Vest Knit Along Lesson 1: Why does my intarsia look squished?
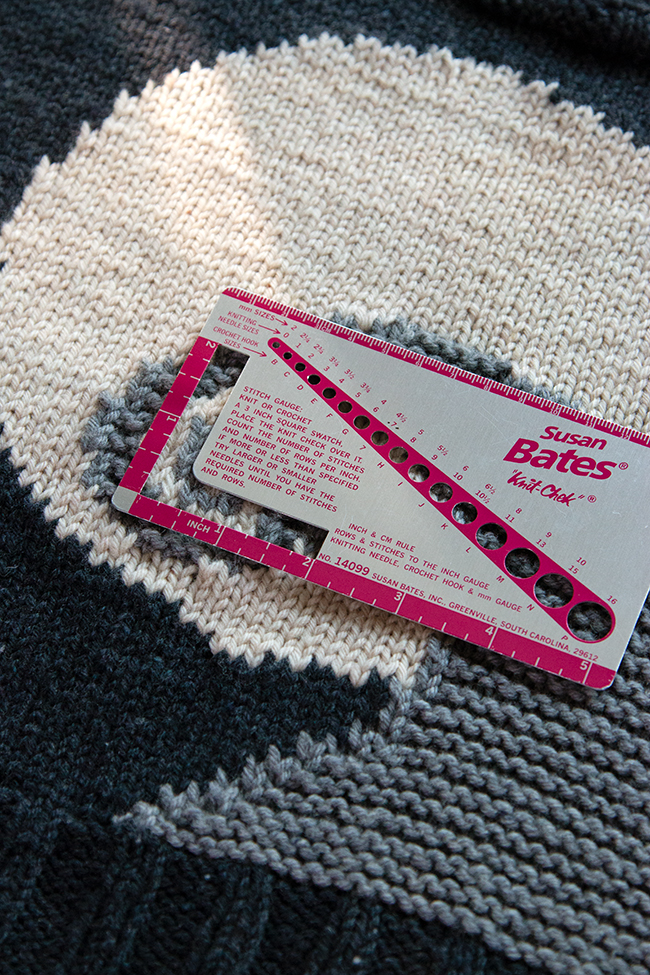
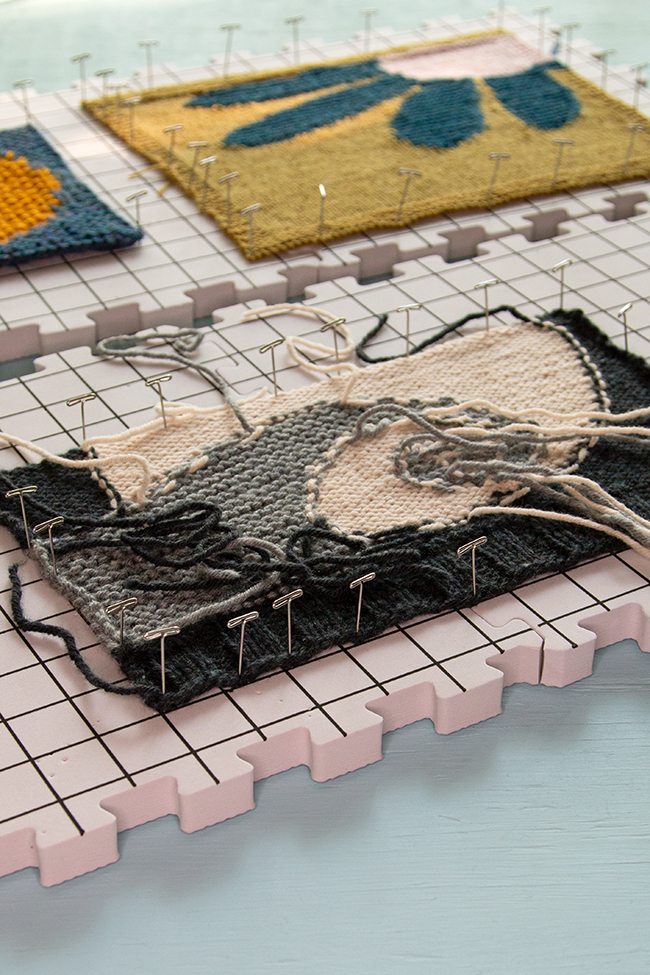
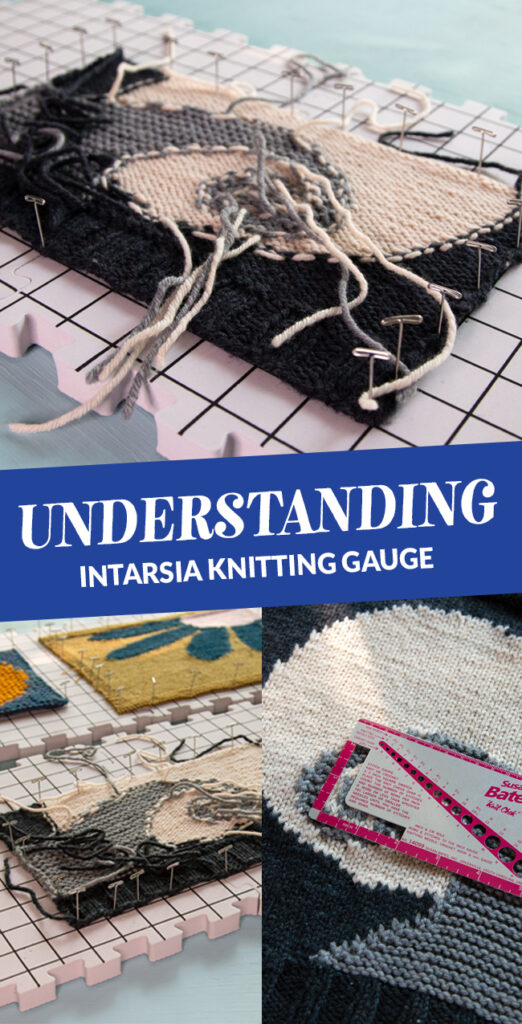
In knitting, the first thing we (are supposed to) do when we start a new project is knit a gauge swatch. We look at the pattern, figure out the recommended yarn, needles, and stitch or pattern for the swatch, and then we knit up a little rectangle, that is (or should be) at least 4 inches by 4 inches. After wet blocking and letting our swatch dry completely, we can measure how many stitches and rows comprise an inch in our knitting, and hopefully, our gauge is the same or pretty close to that listed in our pattern.
Let’s say you measured your blocked swatch and the number of stitches and rows per inch that you’re knitting at isn’t the same as what’s listed in your pattern. That’s referred to as “not getting gauge.” You can try switching up your technique or switch to a smaller/larger needle and swatch again to help you get gauge. Particularly for knitting garments like sweater vests, getting gauge will make the difference in your finished project fitting or not. For knitting intarsia colorwork, getting gauge also helps ensure the design you’re working hard to knit into your project looks correct (not squished or stretched).
Knitting stitches aren’t square, and for intarsia, that’s a big deal.
You may remember this from school geometry: the difference between a square and a rectangle is the fact that squares have an equal width and height measurement, whereas rectangles have a different width and height. Despite the charts we work from regularly featuring graphs with squares to indicate each knitting stitch, knitting stitches aren’t actually square. They don’t have an equal width and height.
What is aspect ratio & how does it impact my knitting?
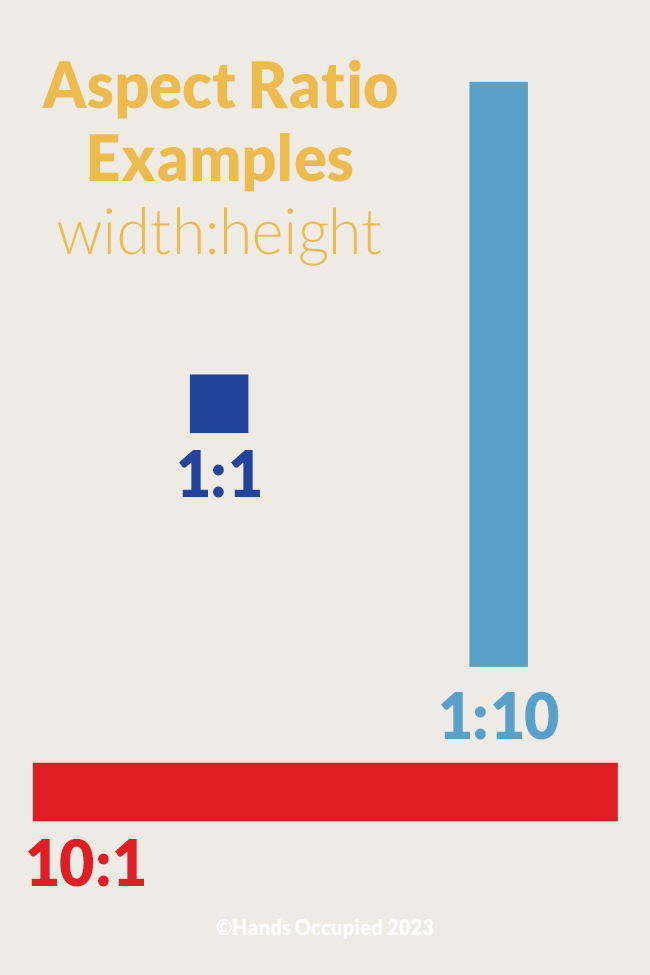
An aspect ratio is a proportional relationship between a shape’s width and height. Most often in daily life, you’ll hear the term aspect ratio referring to the size of the image on your TV, phone or movie screen, describing just how rectangular the image is. Is it a tall and thin rectangle? Is it short and wide? Square images have a 1:1 aspect ratio because they are as wide as they are tall. A tall and thin rectangle might be 1:10, and a short and wide one could have a 10:1 aspect ratio.
On average knitting stitches clock in a 5:4 aspect ratio, meaning they are slightly wider than they are tall. Stitches knit with intarsia colorwork tend to have an even more rectangular aspect ratio. (Why? Because there’s tension happening horizontally in each row at color changes.) In the example of the Spiral Hill Sweater Vest, the gauge is 19 sts and 28 rows over 4 inches. To calculate the aspect ratio of our stitches based on this gauge, we simply divide 19 sts by 28 rows (width divided by height) to get ~0.678.
Again pardoning the school math, we need to convert this into a fraction before reducing it to get our aspect ratio. 0.678 = 678/1000, which equals about 6.5/10 or 3.25/5 with rounding. The short explanation for what to do next to get your aspect ratio is simply to flip the numerator and denominator, the top and bottom numbers, and you’re in business with a 5:3.25 aspect ratio. For whatever reason, colons (:) are used when aspect ratios are discussed rather than slashes (/).
The long, mathy explanation for why you can simply flip your numerator and denominator isn’t going to interest everyone, so I am saving it for another video & blog post combo for the die hards who want to understand why this works.
For people whose brains have shut down because they are just not here for the numbers that’s ok. This concept is another way to help explain why gauge matters, and aspect ratio comes in to play especially when it comes to intarsia.
Graph Paper vs. Knitting Paper & its impact on intarsia designs
Everyday graph paper, the paper many folks will have on hand or first reach for (particularly when drawing up their first intarsia knitting design!) is square. Often, charted patterns we find in knitting publications/books feature graphs with square cells. So if we grab a generic pixel art drawing app or standard piece of notebook graph paper to draw up our first intarsia design, the picture we are drawing might be accurate to that app or piece of paper, but when knit up at an aspect ratio that is not the same 1:1 as the chart we’re working from, our finished intarsia sweater looks a bit… squished.
I’ve heard people say that they just don’t like how their finished intarsia knits up. Or worse, that they think all intarsia looks kind of wonky. When an intarsia project looks off, it often makes me wonder about this aspect ratio concept.
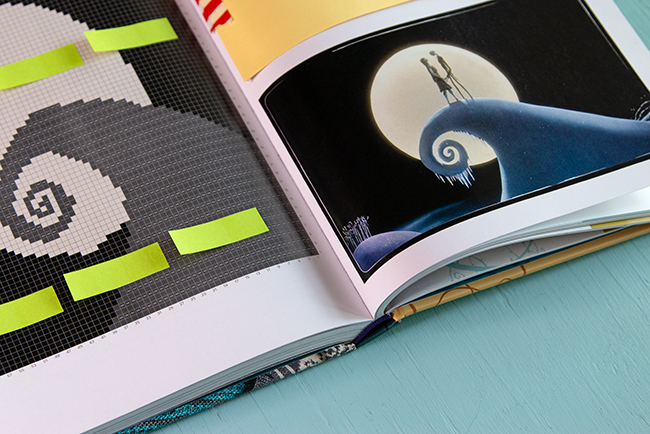
Looking at the chart for the Spiral Hill Sweater Vest chart and reference image is a great example, especially because they’re side by side in Disney Tim Burton’s The Nightmare Before Christmas: The Official Knitting Guide to Halloween Town and Christmas Town. The chart used in the book features graph paper with a 1:1 aspect ratio. I designed the pattern with aspect ratio in mind, but for printing they used a 1:1 chart, which isn’t uncommon. As you can see, Spiral Hill looks sort of tall and oddly proportioned in the chart compared to hill in the movie. That’s because the chart knits up at a 5:3.25 aspect ratio but the chart depicts a 1:1 aspect ratio.
Please please reach out in the comments if I can help clarify this concept. I think it’s an important one to help better understand intarsia.
Another way to think of it in terms of resizing images on the computer
Here’s another example to help explain aspect ratio. If you’ve ever resized an image on the computer, you’ll know that it’s easy to accidentally make it look a bit off. If you grab one side of the image to resize it, you can easily make an image look squashed or stretched. If you grab the image by the corner, you’re scaling it, which changes the width and height of the image at the same rate. Rather than making the image just taller or just wider, scaling makes the image get proportionally wider and taller, preserving the aspect ratio.



 & shop new patterns


Leave a Reply