• 0 items$0.00
  • Skip to primary navigation
  • Skip to main content
  • Skip to primary sidebar
  • Skip to footer

Hands Occupied

Colorful knitting, crochet, latch hook and macrame from craft book author & designer Heidi Gustad.

  • BLOG
    • Knitting
    • Crochet
    • Latch Hook
    • Macramé
    • Punch Needle
  • ABOUT
  • Shop
  • Nav Social Menu

    • Instagram
    • Pinterest
    • RSS
    • YouTube

Advanced Intarsia Knitting Tips

October 4, 2018 5 Comments

This tutorial is part of our Read Along Knit Along series & is brought to you by LoveKnitting, Eucalan & Knitter’s Pride. Learn about our sponsors and enter to win the RALKAL prize pack here. 
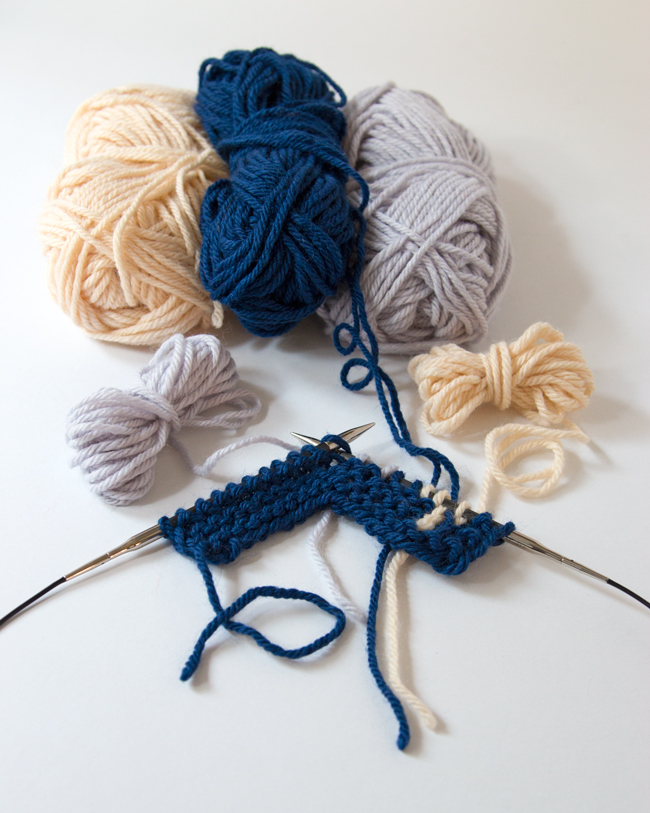
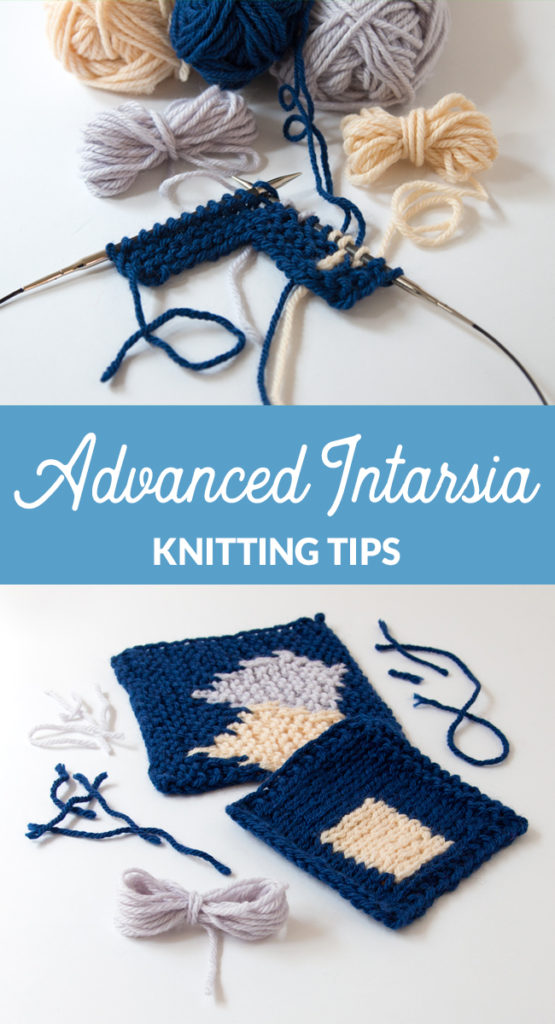
For your best intarsia results ever, you've got to visualize the process of knitting your pattern. Click through for some of the best tips and tricks to level up your intarsia knitting.
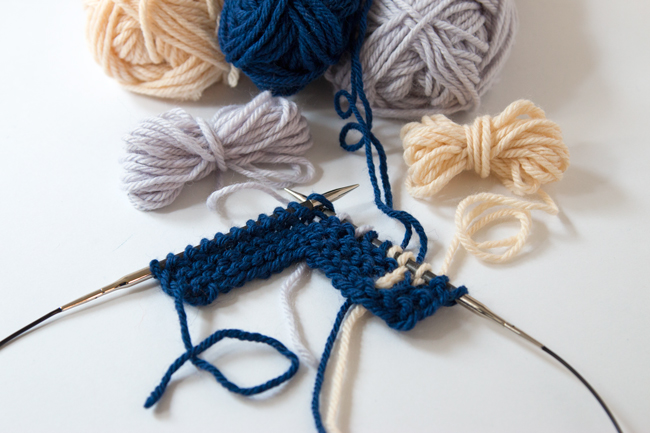
At some point in your intarsia knitting career, you might find yourself wondering how to perfect your approach to knitting several colors of yarn at the same time. This thought will likely come to mind if you’re knitting intarsia and you’re needing two or three (or more!) lengths of the same color of yarn to work a single row of a project. If you’re in this position, I’ve got some favorite tips and tricks just for you!

For your best intarsia results ever, you've got to visualize the process of knitting your pattern. Click through for some of the best tips and tricks to level up your intarsia knitting.

An in-depth look at how to approach intarsia knitting

Let me introduce you to a little something I like to call “imagiknitting.” ;)

See? Basically, you’re going to look at your intarsia chart, and grab a pencil and knitting needle. Then you’re going to imagine the process of knitting your project, row by row, keeping track of your place (especially right and wrong side rows) with your needle. As you work, you’ll identify where you’re going to need to introduce a new piece of yarn and mark it, continuing the process all the way through your chart. Next, you’ll do a little bit of addition to know how many stitches of each color you’re working. From there, you can use your favorite intarsia tail estimation technique, you can create your bobbins/balls/lengths of yarn for each color of your project, and you’re finally ready to cast on, project fully planned from start to finish. For folks who really prefer to keep their intarsia projects organized as they go, this tutorial will help connect a few dots for you!

For your best intarsia results ever, you've got to visualize the process of knitting your pattern. Click through for some of the best tips and tricks to level up your intarsia knitting.

This tutorial is part of our Read Along Knit Along series & is brought to you by LoveKnitting, Eucalan & Knitter’s Pride. Learn about our sponsors and enter to win the RALKAL prize pack here. 
Filed Under: Knit Along, Knitting Tagged With: advanced intarsia, how to knit intarsia, intarsia, intarsia mountain, ralkal, read along knit along, video tutorial

About Heidi

Heidi Gustad is a craft book author & content creator in love with primary colors & vintage vibes. She specializes in knitting, crochet, latch hook and macramé, and her first book, Latch Hook: 12 Projects for the Modern Maker, is out now!

Previous Post: « Picks of the Week
Next Post: Picks of the Week »

Reader Interactions

DID YOU LIKE THIS POST?
Visit similar articles...

  • How to Knit Intarsia Without Bobbins or ButterfliesHow to Knit Intarsia Without Bobbins or Butterflies
  • How to Estimate & Manage Yarn Tails in Intarsia KnittingHow to Estimate & Manage Yarn Tails in Intarsia Knitting
  • Intarsia 101Intarsia 101
  • More Intarsia Mountain Color Palettes!More Intarsia Mountain Color Palettes!

DON’T MISS ANOTHER UPDATE

Comments

  1. Emma Weinstein

    February 18, 2020 at 3:12 pm

    I was wondering how you suggest knitting intarsia in seed stitch. I’m currently trying a sweater pattern and can’t get the color changes right because of the knit-purl / purl-knit transititons.

    Reply
    • Heidi

      March 28, 2020 at 12:51 pm

      I don’t really do Intarsia with seed stitch for this exact reason. 👍🏻☺️

      Reply
    • Patricia

      September 29, 2020 at 11:27 am

      I am looking for help doing the color change in seed as well. My pattern instruction says to twist on WS. I’m not sure what that means.

      Reply
      • Heidi

        September 29, 2020 at 11:34 am

        That means that the interlocking action (when you change from one color of yarn to another) occurs on the wrong side of your work. Most intarsia technique calls for doing the interlocking action on the WS all the time, so this instruction feels like they may have intended it to be more of a reminder. That is just a guess on my part however. Does that make sense? -Heidi

        Reply
  2. Norman

    April 7, 2021 at 10:48 am

    was just looking for other intarsia fans and found your site and yay to a fellow mediaviner :) Great tips btw!

    Reply

Leave a Reply Cancel reply

Your email address will not be published. Required fields are marked *

This site uses Akismet to reduce spam. Learn how your comment data is processed.

Primary Sidebar

Heidi Gustad from Hands Occupied / Craft Book Author and Knitting, Crochet, Latch Hook and Macrame Designer

Hi! I’m Heidi (she/her/hers), a craft book author & pattern designer specializing in knitting, crochet, latch hook & macrame. Really anything with yarn! ❤️  My work combines vintage and modern design elements, featuring bold colors and graphic motifs.

UPDATES BY EMAIL

Monthly highlights sent to your inbox.

Find Me Elsewhere, If You’re There

  • Instagram
  • Pinterest
  • YouTube
Latch Hook by Heidi GustadDiscover Unique Items

Footer

INSTAGRAM

handsoccupied

Craft book author & pattern designer ❤️💛💙
knitting, crochet, latch hook & macramé
.
Please email for pattern support. 🧶

Heidi Gustad 🧶✂️
For the first time in a long time, there’s a new For the first time in a long time, there’s a new tutorial from Hands Occupied! 🎉 The video is live on YouTube & the blog. 
.
The post covers what provisional cast ons are & how they differ, and the video covers how to work a one-step provisional cast on using scrap yarn and a crochet hook. (This is a great one to save for future reference.)
.
I learned several names for this method while researching this video & post. Crochet provisional cast on, one-step cast on, scrap yarn cast on - if you know even more names for this technique, please share! 
.
#handsoccupied #provisionalcaston #knitting #scrapyarn #crochethook
Working on a sample for some upcoming videos. It’s an overcast day with intermittent sunshine & I have a scruffy little sidecar. 🐶 Can’t complain! 
.
What’s on your needles this week? 
.
Yarn: @debbieblissknits Cashmerino Aran 
.
#handsoccupied #knitting #knittinglife
Peg boards and craft room organization go together Peg boards and craft room organization go together like peanut butter and jelly. So, as you can see, do latch hook tools and screwdriver organizers! 🪛 
.
I think this trick translates to any tool with a thick handle, so leather working tools, punch needles, print making tools, etc. should work! What other tools am I, a needlecrafter, blanking on right now? 
.
#craftorganization #handsoccupied #latchhook #latchhooking
Pegboard storage is my favorite for craft supplies Pegboard storage is my favorite for craft supplies, so getting a few hung in my new studio has been a priority. Here’s my first attempt. 🔨 
.
Details: This pegboard panel is for organizing my knitting needles, latch hook tools, sewing thread, etc. It doesn’t need to hold much weight, so I didn’t anchor this into a stud - just used basic drywall anchors. I’ve also got a set of two 2’x4’ panels for another spot in my studio, and those will need a stud/more than 3 drywall anchors. Wish me luck! 
.
[description: video features a woman hanging a panel of pegboard using a square dowel and drill]
It’s time for the annual Hands Occupied new year It’s time for the annual Hands Occupied new year update, and for the first time in years, I feel like I have some clarity about what I’m doing next. ❤️ Head to the blog to read all about it, the 1ink is where you’d think. 
.
#handsoccupied #knitting #creativeburnout
Load More... Follow on Instagram

Copyright © 2023 / Foodie Pro Theme On Genesis Framework / Branding by Ink + Mortar
All Site & Shop Policies / Privacy Policy / Cookie Policy