• 0 items$0.00
  • Skip to primary navigation
  • Skip to main content
  • Skip to primary sidebar
  • Skip to footer

Hands Occupied

Contemporary yarn crafts by Heidi Gustad. Knitting, crochet, latch hook and macrame.

  • BLOG
    • Knitting
    • Crochet
    • Latch Hook
    • Macramé
  • ABOUT
  • Shop
  • Studio
  • Nav Social Menu

    • Facebook
    • Instagram
    • Pinterest
    • RSS
    • Twitter
    • YouTube

Dimensional Easter Egg Earrings

April 2, 2014 Leave a Comment

Dimensional Easter Egg Earrings DIY at Hands Occupied

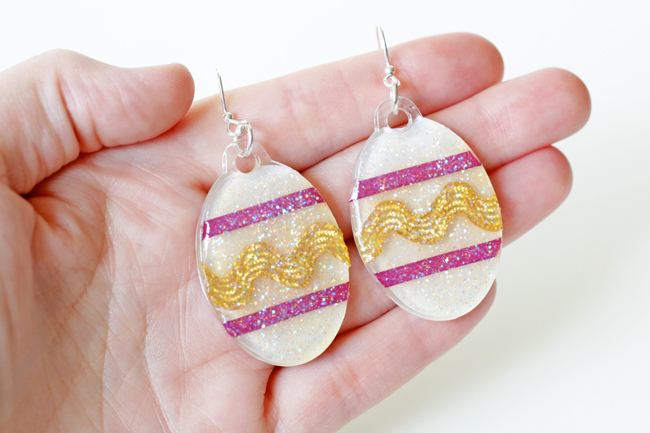
I feel like Ms. Frizzle would 100% wear these earrings given half a chance. They’re about as festive as it gets, and they involve ribbon and sparkle. I’m a huge DIY accessory lover, and part of what I love is making accessories you might not find in stores. These, admittedly are totally cray, but for something I’ll wear for fun to an Easter brunch or egg hunt? Heck yes I’m going to hang a couple of sparkle Easter eggs on my ears! Maybe I’ll even pair them with my astro turf Peter Pan collar…

Supplies

2 sets of mod podge podgeable shapes, basic designs – you need one large oval from each
pencil
white paper
ric rac
thin ribbon
scissors
mod podge
small paint brush
Mod Podge Dimensional Magic in silver glitter
2 earwires
2  6mm or 7mm jump rings
jewelry pliers

Directions

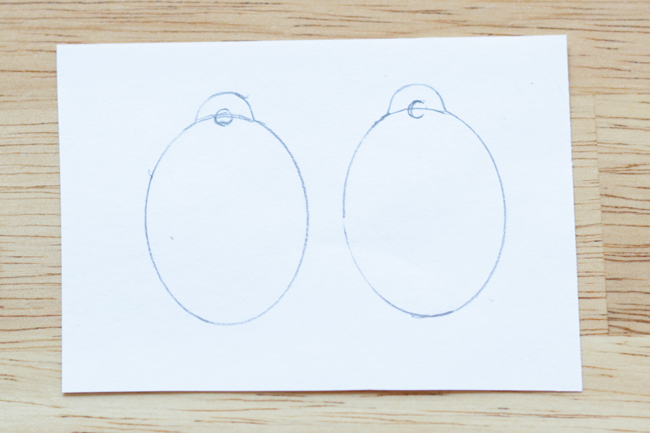
Start by tracing your podgeable shapes on some clean scrap paper.

Dimensional Easter Egg Earrings DIY

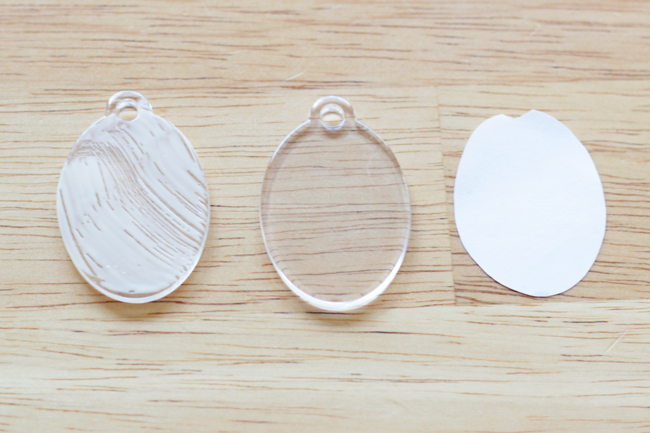
Cut out the shapes, leaving a notch for the circle at the top. Paint a layer of Mod Podge on the back of your Podgeable Shape and place your paper cutout, lining up the edges.

Dimensional Easter Egg Earrings DIY

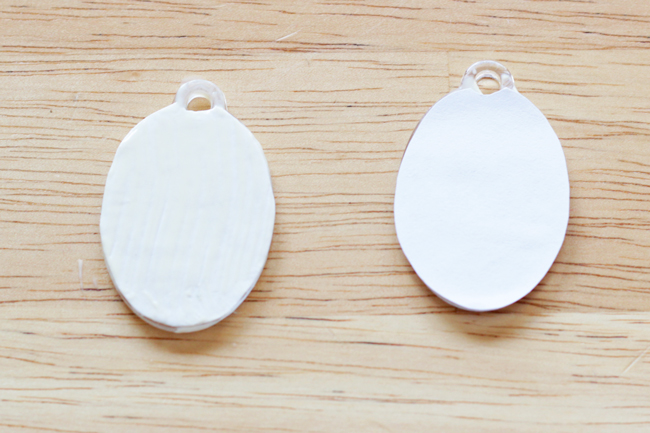
Paint another layer of Mod Podge over the outside of the paper. Let dry completely.

Dimensional Easter Egg Earrings DIY

Flip over your ovals. Cut your ribbons to fit the width of your ovals where you plan on placing them.

Dimensional Easter Egg Earrings DIY

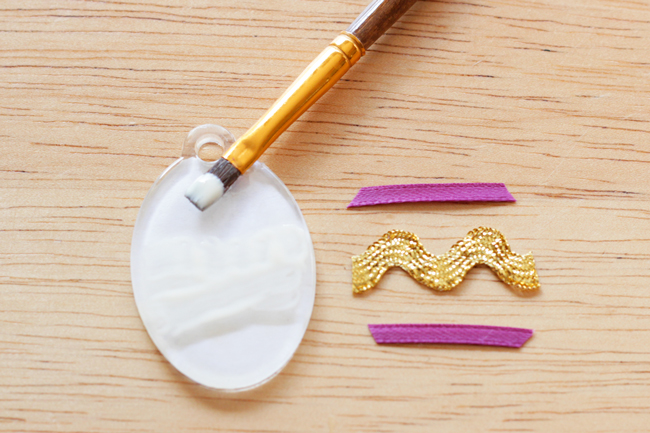
Paint Mod Podge on the non-paper side of your oval and place your ribbons.

Dimensional Easter Egg Earrings DIY

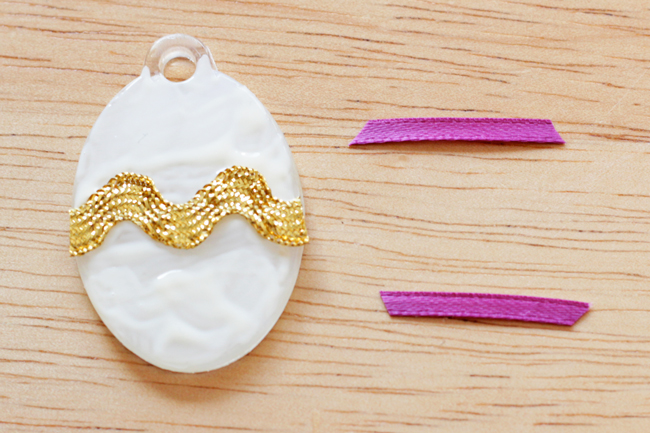
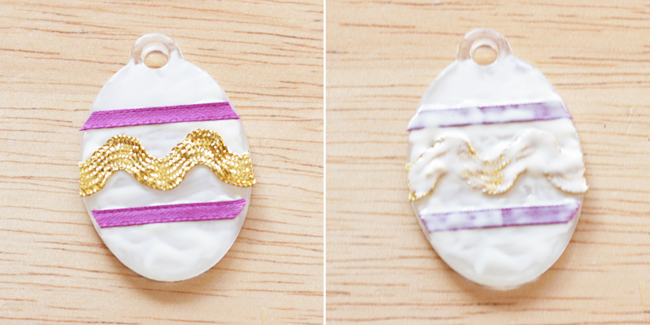
Then, paint a second thick layer over your ribbons, covering them completely. Let dry.

Dimensional Easter Egg Earrings DIY

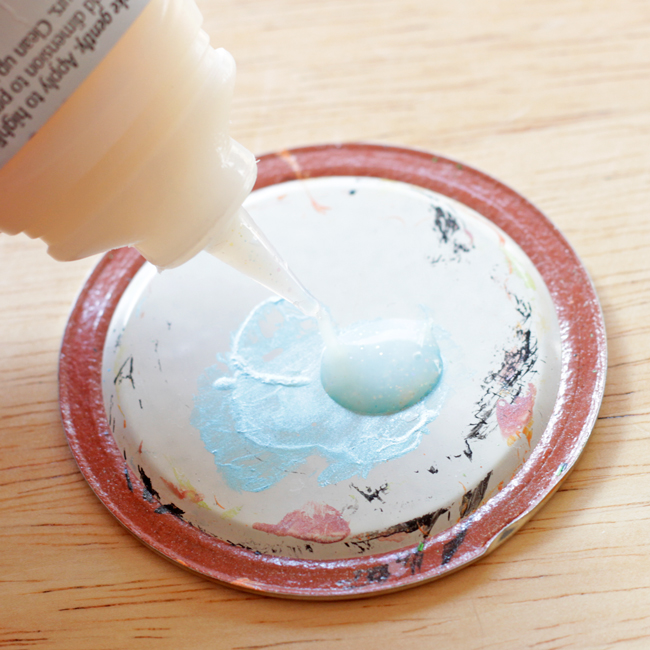
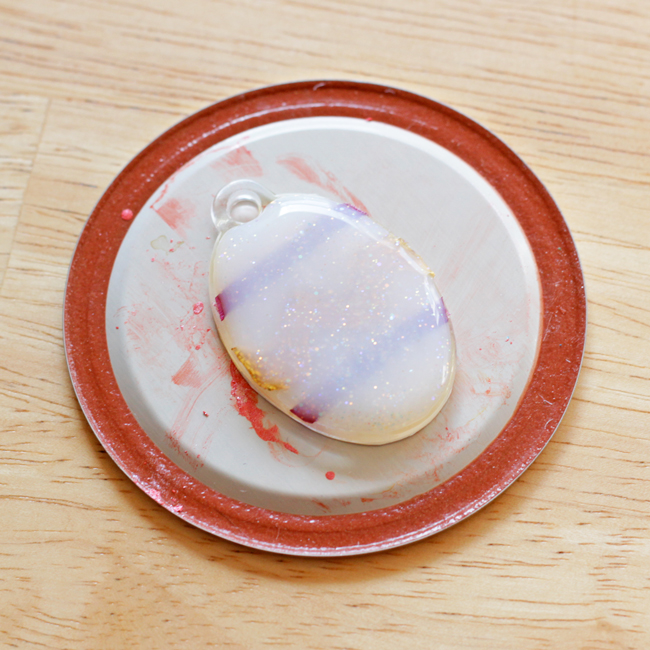
The last step is applying your Dimensional Magic. I have a few tips regarding glitter Dimensional Magic. The glitter settles at the bottom of the bottle, so you’ll want to take advantage of the flat-topped lid by letting it stand upside down for 10 or 15 minutes. This lets the glitter shift so it’s better mixed throughout the bottle.

Dimensional Easter Egg Earrings DIY

To avoid bubbles on your finished project, prime your Dimensional Magic bottle by squeezing some out onto a test surface.

Dimensional Easter Egg Earrings DIY

Next, fill in each earring with a layer of Dimensional Magic. If you see any bubbles on your earrings while the Dimensional Magic is wet, you can pop them with a sharp needle or scoop them out. Let your earrings dry for 24 hours undisturbed.

Dimensional Easter Egg Earrings DIY

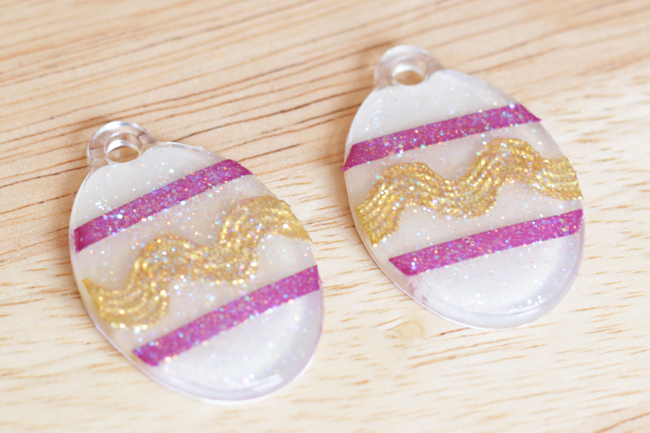
Here’s what they’ll look like when dry.

Dimensional Easter Egg Earrings DIY

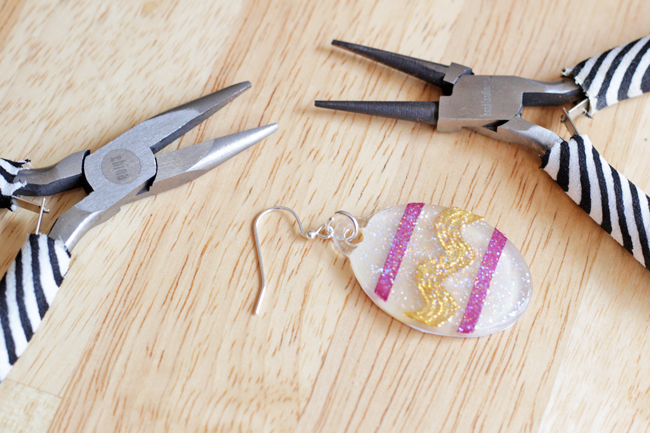
Finally, all you have left to do is attach an earwire to each earring using a 7mm jump ring and a set of jewelry pliers.

Dimensional Easter Egg Earrings DIY

Look familiar? I first shared this project over at Mod Podge Rocks! last Easter. 

Filed Under: Decoupage, DIY Style, Easter, How-to, My Work Elsewhere Tagged With: craft, dimensional easter egg earrings, dimensional magic, diy, diy style, earrings, easter, easter egg, egg, mod podge, ric rack

About Heidi

Heidi Gustad is an artist, author and crafts designer specializing in knitting, crochet, latch hook and macrame. In addition to running the Hands Occupied Blog and Pattern Shop, you can find her making videos & co-hosting the Very Serious Crafts podcast.

Previous Post: « DIY Eggshell Tea Lights
Next Post: The First Hands Occupied Knit Along! »

Reader Interactions

DID YOU LIKE THIS POST?
Visit similar articles...

  • Twinkle in Your Eye Sunglasses Twinkle in Your Eye Sunglasses
  • Glitter Polka Dot NotebookGlitter Polka Dot Notebook
  • DIY Comic Book Compact DIY Comic Book Compact
  • Pinch Me Pendant for St. Patrick’s DayPinch Me Pendant for St. Patrick’s Day

DON’T MISS ANOTHER UPDATE

Leave a Reply Cancel reply

Your email address will not be published. Required fields are marked *

This site uses Akismet to reduce spam. Learn how your comment data is processed.

Primary Sidebar

Heidi Gustad from Hands Occupied / Craft Book Author and Knitting, Crochet, Latch Hook and Macrame Designer

Hi! I’m Heidi, an author, yarn craft designer and content creator specializing in knitting, crochet, latch hook & macrame. My work unapologetically features primary colors and vintage-meets-modern style. My first book, Latch Hook: 12 Projects for the Modern Maker, is now available!

work with heidi

UPDATES BY EMAIL

Get a free pattern + biweekly updates sent to your inbox.

Let’s be friends!

  • Facebook
  • Instagram
  • Pinterest
  • Twitter
  • YouTube
Latch Hook by Heidi Gustad

Footer

INSTAGRAM

handsoccupied

Craft book author & content creator in love with primary colors & vintage vibes. / #latchhookbook out now!
.
knitting, crochet, latch hook & macramé

Heidi Gustad 🧶✂️
There’s an update on the blog today, & it’s ab There’s an update on the blog today, & it’s about how I’m going to take the next 2 weeks off to rest & recharge. ☺️🧶 No new content for y’all means I can also take a moment to zoom out & plan what’s next. Link is in bio. 
.
.
A note on Very Serious Crafts: In the post I discuss stepping away from the @seriouscrafts podcast to give myself more time to devote to some minor medical issues. Don’t you worry - my health will be fine, & @molliejohanson @redhandledscissors and I are still pals, and after a short break of their own, the podcast will be back! Just sans moi. 💁🏼‍♀️😆 
.
.
See you in a couple weeks! ✌🏻#handsoccupied #knitdesign #craftdesign #sofadedsweater
Been a little quiet this holiday week, as it shoul Been a little quiet this holiday week, as it should be. ☺️🎄The past few days have been filled with a lot of catching up on festive zoom calls & raising toasts to the camera. 🥂 Connecting with people has been a welcome change of pace! Now I’m feeling ready to meet my inevitable end-of-year deadlines. 😆
.
.
Warmest wishes for the season, my friends! ❤️💛💙
Hi, I’m Heidi, the craft book author & maker beh Hi, I’m Heidi, the craft book author & maker behind Hands Occupied! 👋🏻 I’ve been enjoying making Reels a lot lately, but I wanted to bop in to share a regular photo & say hello. 🤓 
.
.
rather than giving you my bio right now, I have a question. I just got this new sweater & I can’t stop imaging how funny it would be to wear this to a knitting class ... is that bad? 🤣🤣🤣
.
.
Pictured: a blond woman with glasses wearing a sweater that reads “all your sweaters are ugly” standing in front of a Christmas tree.
Wet blocking, also called immersive blocking, is o Wet blocking, also called immersive blocking, is one of the most common methods for finishing a knitting project and helping ensure its final size and shape. Learn basic blocking for absolute beginners in an easy-to-follow (non-Reel!) video tutorial! Catch the tutorial on YouTube or the Hands Occupied Blog, link is in bio. 🧶 #handsoccupied #stopswatchandblockit #KPAmbassadorsDec20 #sponsored
Had to share this perfect capture of one of my fav Had to share this perfect capture of one of my favorite weird homemade Christmas ornaments: a simple macramé Santa face with beads for the eyes and nose! My Great-Grandma made it too. 🎄
.
Might have to try making a quickie Reel tutorial for this guy - I think it’s the perfect project for it, don’t you? 🎅🏼 #handsoccupied #macrame
Load More... Follow on Instagram

Copyright © 2021 / Foodie Pro Theme On Genesis Framework / Branding by Ink + Mortar
All Site & Shop Policies / Privacy Policy / Cookie Policy