• 0 items$0.00
  • Skip to primary navigation
  • Skip to main content
  • Skip to primary sidebar
  • Skip to footer

Hands Occupied

Colorful knitting, crochet, latch hook and macrame from craft book author & designer Heidi Gustad.

  • BLOG
    • Knitting
    • Crochet
    • Latch Hook
    • Macramé
    • Punch Needle
  • ABOUT
  • Shop
  • Nav Social Menu

    • Instagram
    • Pinterest
    • RSS
    • YouTube

How-to: Bronze Laurel Headband

July 23, 2012 2 Comments

The Olympics start on Friday, and I’m so excited! My tutorials for the next few weeks will all be Olympics-themed in honor of the occasion. The tutorial today is probably one of my favorites of this year so far. It’s cute, came together really nicely and looks expensive for a craft project. I love it!
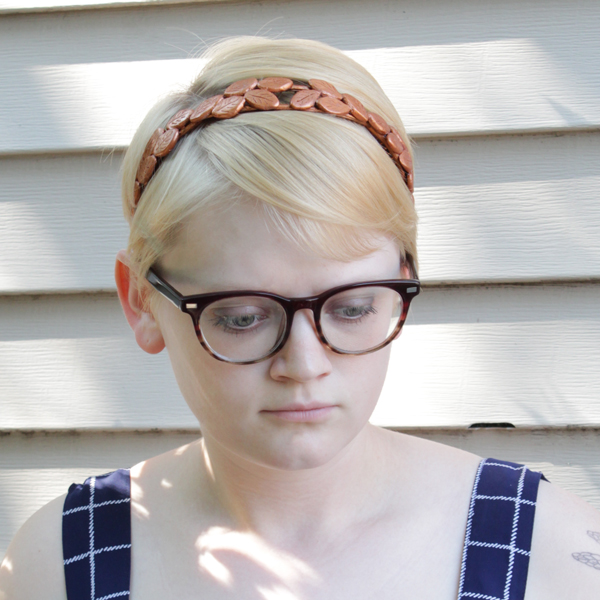
Bronze Laurel Headband DIY at Hands Occupied

Supplies

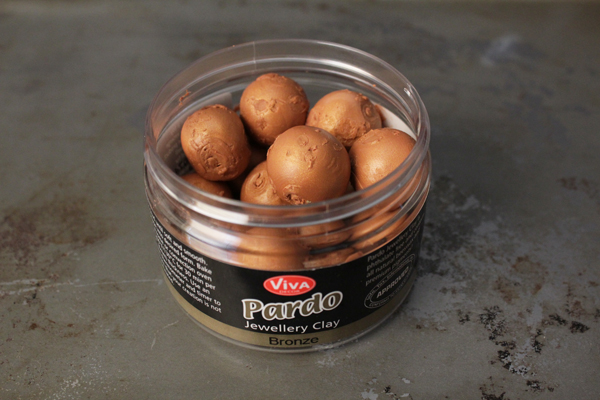
metallic colored jewelry clay (I chose bronze!)
Old baking sheet
X-acto knife
Bronze acrylic paint
Headband
Super glue (~2 tubes)

Directions

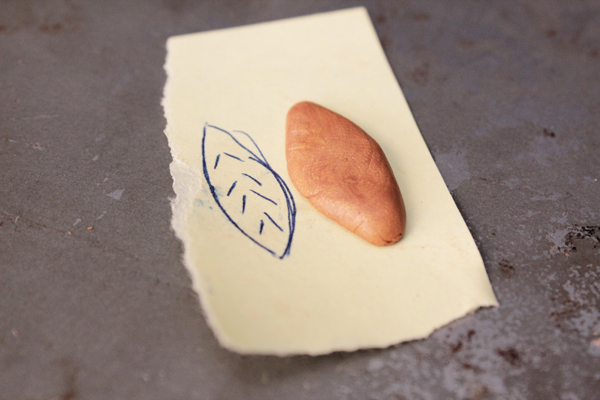
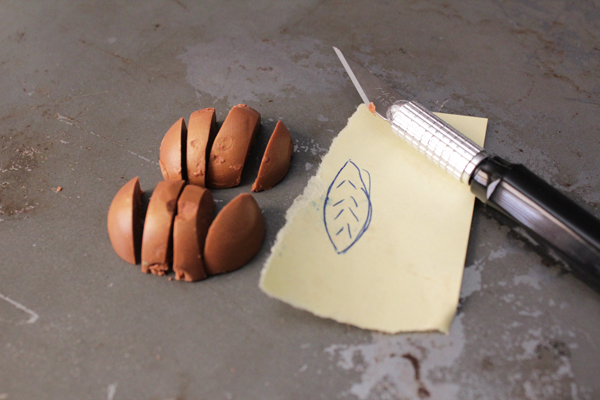
Separate your clay into a bunch of evenly-sized pieces. Mine came in balls, which I cut into eight even pieces each. Then mold them into a leaf shape. I sketched a template to help ensure each of my leaves were similar.
Bronze Laurel Headband DIY at Hands Occupied

Bronze Laurel Headband DIY at Hands Occupied

Bronze Laurel Headband DIY at Hands Occupied

Once you’ve crafted about 2 dozen leaves, bake them according to the clay’s package directions. The clay I used needed to be baked for 30 minutes at 266 degrees F.
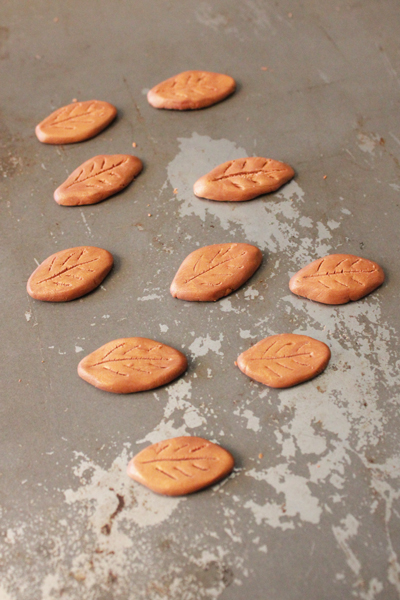
Bronze Laurel Headband DIY at Hands Occupied

Bronze Laurel Headband DIY at Hands Occupied

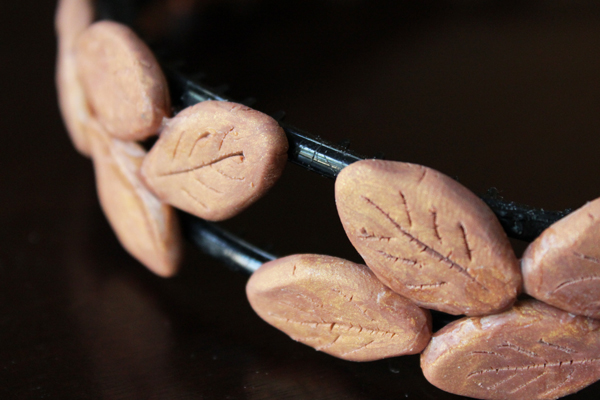
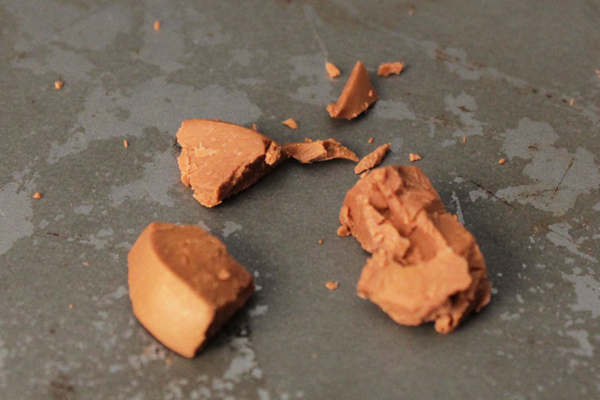
When pardo clay is baked, it becomes very hard. Here’s how my leaves looked as they cooled:
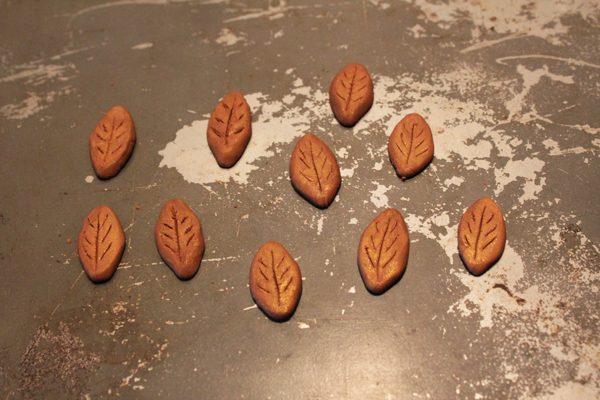
Bronze Laurel Headband DIY at Hands Occupied

A couple caveats about working with this clay is that it can crumble. Also, toxic fumes can result during the baking process. Because of this, I made sure to use an old baking sheet I don’t intend to use for baking again.

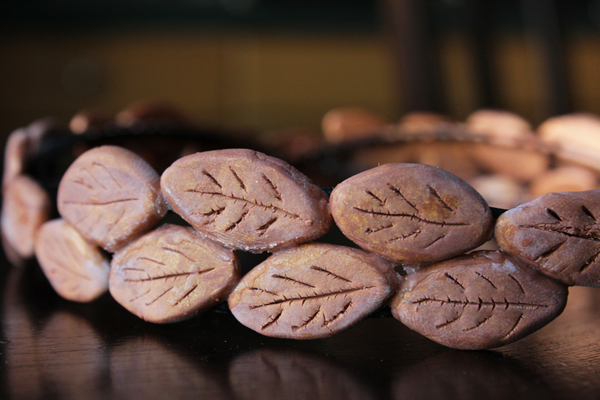
Next, score your headband with an x-acto knife to give something for the glue you’re about to use to stick to. Begin super gluing your cooled leaves to the headband in a laurel vine-esque pattern. This takes a while and is rather messy. I used my craft-exclusive baking sheet to protect my work table in this step.
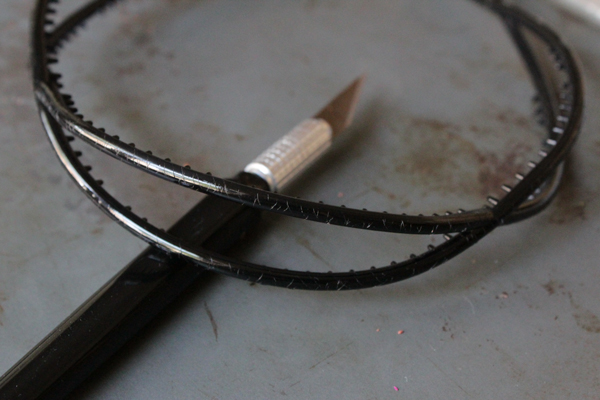
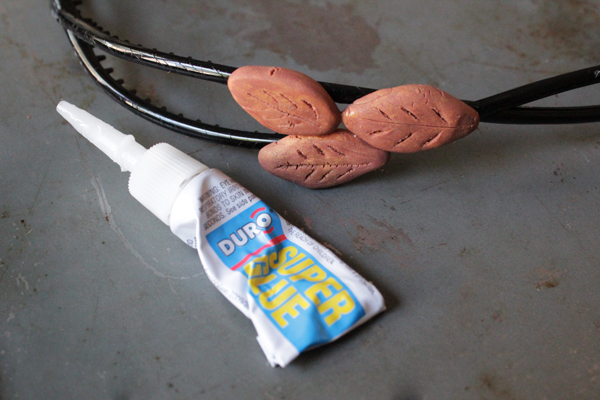
Bronze Laurel Headband DIY at Hands Occupied

Bronze Laurel Headband DIY at Hands Occupied

Bronze Laurel Headband DIY at Hands Occupied

Bronze Laurel Headband DIY at Hands Occupied

When my super glue dried, it made my leaves look anything but shinily metallic, which was a huge bummer. Between that and the fact that my headband base was black, I wasn’t satisfied with how it looked. Luckily, there’s acrylic craft paint!
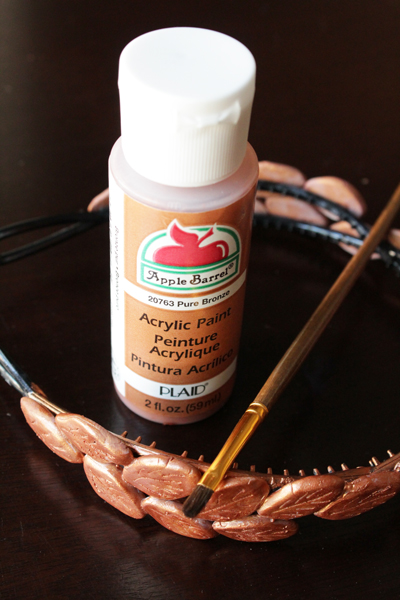
Bronze Laurel Headband DIY at Hands Occupied

Paint over the whole headband with as many coats as it takes to look good. Let it dry completely, and you’ve got yourself a totally cute headband.
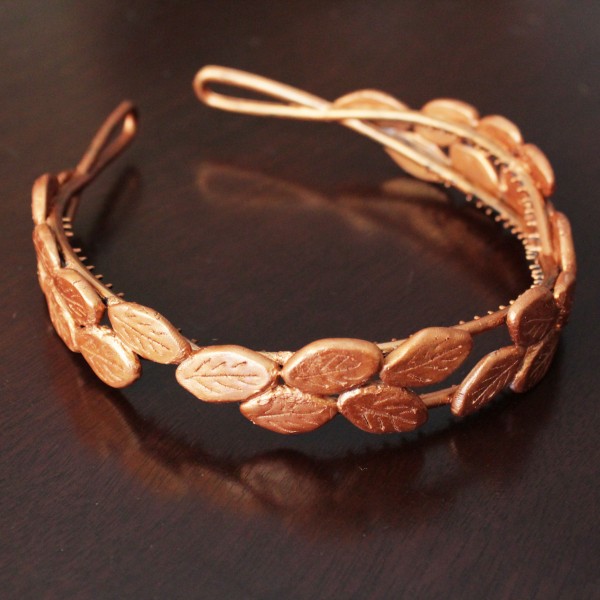
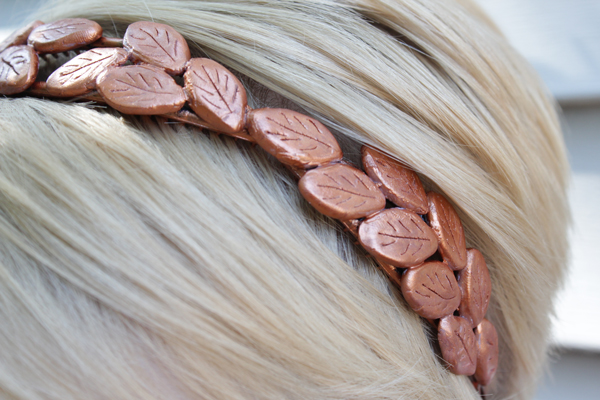
Bronze Laurel Headband DIY at Hands Occupied

Bronze Laurel Headband DIY at Hands Occupied

Filed Under: DIY Style, DIY Wedding, How-to, Olympics Tagged With: diy, diy wedding, headband, How-to, olympics, tutorial

About Heidi

Heidi Gustad is a craft book author & content creator in love with primary colors & vintage vibes. She specializes in knitting, crochet, latch hook and macramé, and her first book, Latch Hook: 12 Projects for the Modern Maker, is out now!

Previous Post: « Vintage Embroidery Transfer Inspiration
Next Post: How-to: Olympic Medals Necklace »

Reader Interactions

DID YOU LIKE THIS POST?
Visit similar articles...

  • How-to: Turn a Scarf into a Headband (without destroying It)How-to: Turn a Scarf into a Headband (without destroying It)
  • How-to: Fake Flower AccessoriesHow-to: Fake Flower Accessories
  • How-to: DIY Popcorn BarHow-to: DIY Popcorn Bar
  • How-to: Punk Rock Valentine’s ClutchHow-to: Punk Rock Valentine’s Clutch

DON’T MISS ANOTHER UPDATE

Comments

  1. Hannah

    March 17, 2014 at 6:05 pm

    Where did you find metal clay that you just bake like you would polymer clay? I use ArtClay copper metal clay and you have to use a torch to actually make it into metal, and the bronze metal clay I know of needs to be fired in a kiln. The picture before the headband was painted still looks like clay. I think what you have is a metallic polymer clay if it is the pardo clay that is in the picture, and not actual metal clay made with actual metal particles and a clay binder that burns away. What you did is perfectly fine, and much less expensive than actual metal clay, but there is a difference between metallic clay and metal clay. Metal clay just needs to be burnished to bring out the shine, just in case what you have is actually true metal.

    Reply
    • Heidi

      March 19, 2014 at 9:37 am

      Aha! That makes its color after being baked make sense – thanks so much for the info! I’ll have to try ArtClay next time I want to do a metal (not metallic) clay project. :)

      Reply

Leave a Reply to Heidi Cancel reply

Your email address will not be published. Required fields are marked *

This site uses Akismet to reduce spam. Learn how your comment data is processed.

Primary Sidebar

Heidi Gustad from Hands Occupied / Craft Book Author and Knitting, Crochet, Latch Hook and Macrame Designer

Hi! I’m Heidi (she/her/hers), a craft book author & pattern designer specializing in knitting, crochet, latch hook & macrame. Really anything with yarn! ❤️  My work combines vintage and modern design elements, featuring bold colors and graphic motifs.

UPDATES BY EMAIL

Monthly highlights sent to your inbox.

Find Me Elsewhere, If You’re There

  • Instagram
  • Pinterest
  • YouTube
Latch Hook by Heidi GustadDiscover Unique Items

Footer

INSTAGRAM

handsoccupied

Yarn craft designer & author. Into intarsia knits, latch hook, color & vintage-modern style.
❤️ Email for pattern support
👇🏻 Book, Patterns, Tutorials

Heidi Gustad 🧶✂️
Sneaking in a few stitches in the shade. 😎 Sneaking in a few stitches in the shade. 😎
Another morning of filming! One of the knitting vi Another morning of filming! One of the knitting videos I’d like to release soon is a big overview of how to swatch and why - if you have any questions or favorite tips, let me know. 
.
To be honest, I want to be able to link to this video as a resource when I get angry gauge questions, so please don’t hesitate to share your best tips. Together, we can tame the knitting Karens. 😆
.
#stopswatchandblockit #handsoccupied #knitting #knittersofinstagram
A big issue I've had in the last year is putting t A big issue I've had in the last year is putting together new design work but not doing any independent releases of them. Chalk it up to anxiety, burn out, or whatever but here we are. 
.
Last week I turned 35, so in honor of that here’s 3 things: 
❤️ a picture of me at my most stylish 
💛 a little glimpse at some of the design things I've recently been working on
💙a promise that I will be releasing some of the pictured designs this year. Getting back in the swing of things after taking it easy is hard 😆 - wish me luck!
Like a riding a bike! June guarded the neighborhoo Like a riding a bike! June guarded the neighborhood while I shot a new crochet tutorial today. With any luck, editing will go smoothly & I’ll be posting new videos to YouTube regularly soon! Got any requests for tutorial topics? 
.
#handsoccupied #crochet #studiodog #crochettutorial
This yoke deserved a mid-blocking closeup, don’t This yoke deserved a mid-blocking closeup, don’t you think? ❤️💛💙
.
Pattern: modified #soldotnacrop sweater / yarn: various from my stash
Load More... Follow on Instagram

Copyright © 2022 / Foodie Pro Theme On Genesis Framework / Branding by Ink + Mortar
All Site & Shop Policies / Privacy Policy / Cookie Policy