Today’s project is kind of a 2-for. I’ve got instructions illustrating how to braid a really beautiful looking 5-strand braid, as well as how to turn braided cord into an easy headband, perfect for long or short hair. I normally don’t go wild for bold pink, but it’s a color that has always looked good on me. Not to mention it’s nice and springy.
No, the photo above doesn’t feature my long lost big sister, though she totally could be. Last weekend I took a product photography workshop and one of my fellow students was so kind as to pose for me to show off today’s tutorial. And hold daisies in front of her face while I attempted to work in a studio. :)
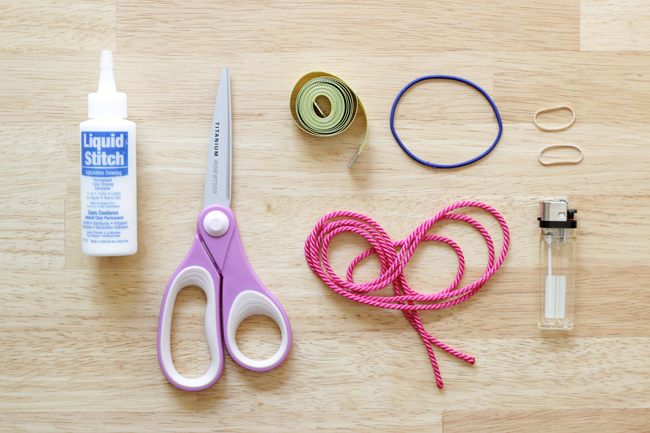
Supplies
15 ft. spool of nylon decorator’s cord
scissors
liquid stitch
elastic or long hair band
two chip clips
two rubber bands
lighter
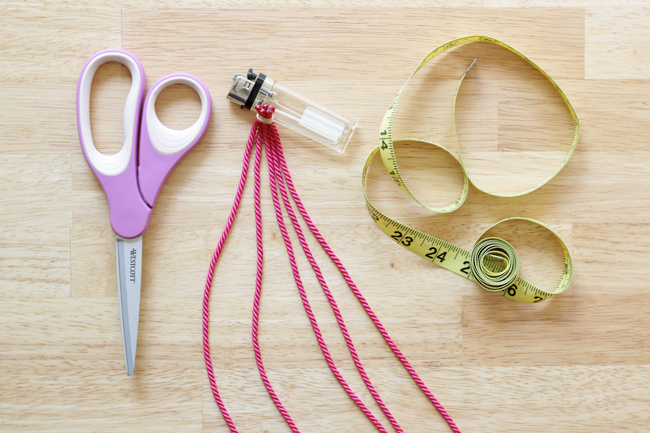
Directions
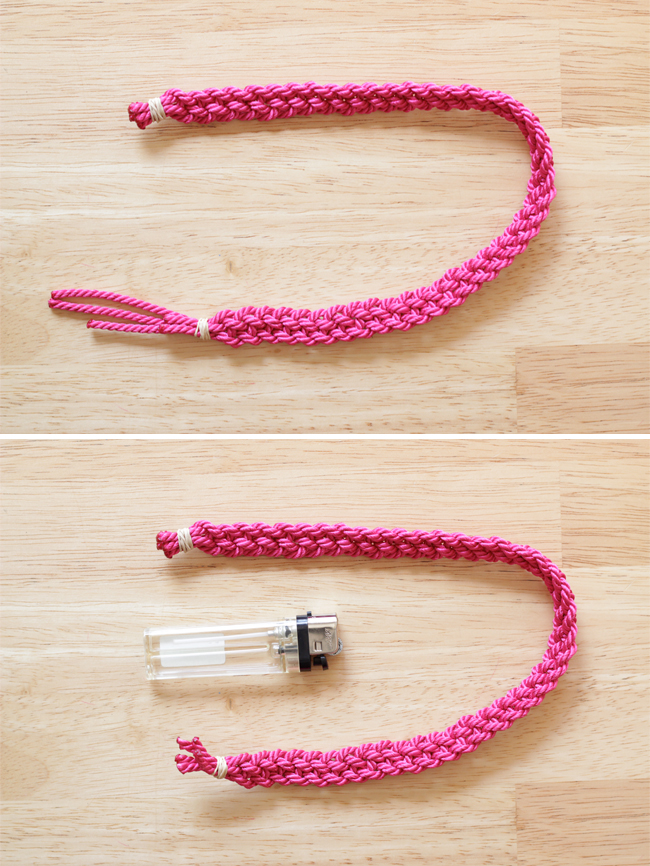
Cut 5 strands of your cord, all approximately long enough to fit around your head plus an inch or two. My pieces were 24 inches long. Using a lighter, burn the ends of your nylon cord to prevent raveling. Bind the 5 strands together at one end with a rubber band.
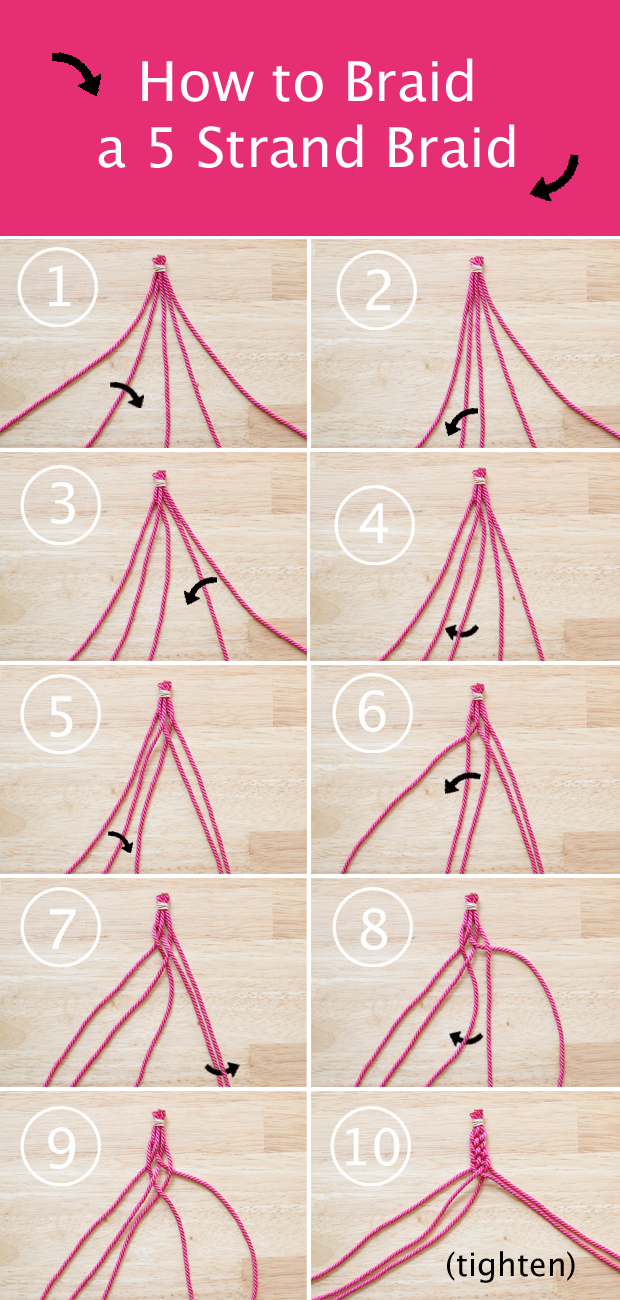
Following the instructions & mesmerizing animation below, braid the cord together into a 5 strand braid and secure at the opposite end with another rubber band. In the graphic below, please note that arrows pointing downward mean that the cord should go over the front of the piece next to it, and arrows pointing upward mean the cord should go behind the piece next to it. I find it challenging to learn how to braid or knot using tutorials, so I hope the combination of the photos and the animation are helpful! This braid is really easy once you make one or two passes through the braiding pattern.
Trim any uneven ends of cord and burn raw end.
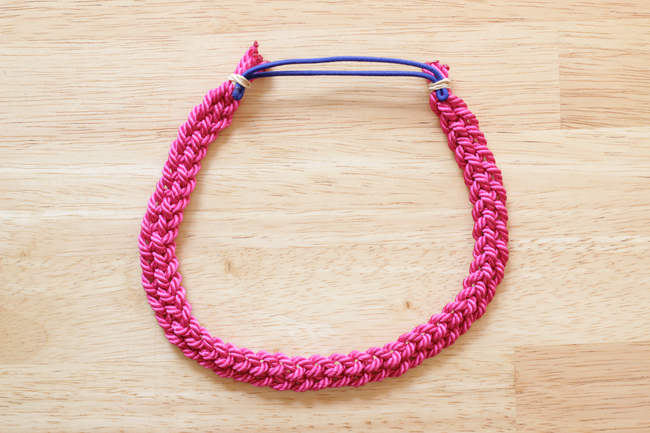
 Attach your elastic or hair band to the braid by tucking it into the rubber bands.
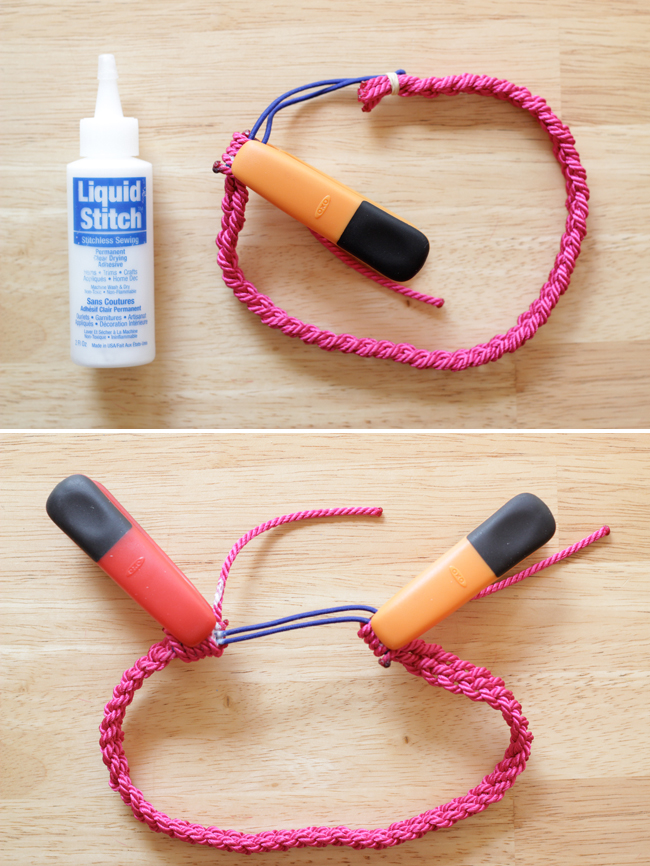
 Glue an additional piece of cord around the rubber band and ends of the braid with Liquid Stitch (or Tacky Glue is fine too), as shown. Use chip clips to keep the cord in place until the glue dries.
PS: If you like the look of the 5 strand braid as much as I do, you should note that you can do this with hair or any other string-like material.


Leave a Reply