 It’s sleeve attachment day! Today is the day your sweaters will start looking a LOT like sweaters, people! Despite how long this post is, attaching the sleeves really isn’t all that complicated. I just want to give you guys a thorough overview of the mechanics of how to attach bottom-up sweater sleeves. Since we’re dealing with math, words and photos (and a couple of animated GIFs, because I couldn’t help myself and do think they’re helpful), this post is long, but I think it really will help you understand sweater making! Let’s dive in, shall we?
Supplies needed for this step
yarn/tapestry needle
scrap yarn, two 12-18″ pieces
stitch markers
your finished sweater body and 2 sleeves
How to attach bottom-up raglan sweater sleeves
1. Grab your sweater body. Place stitch markers at beginning & center of round of sweater body, so for XS/S/M/L/XL/XXL that would be at the 70/76/80/86/92/100 stitch point.
2. Do some math. Add the number of stitches on your sweater body plus the number of stitches on your sweater sleeves. Then multiply that number by .1 to calculate what 10% of the total stitches you’re working with is. Finally, round that to the nearest even number.
XS: 140+47+47 = 234 sts | 234 x 0.1= 23.4 | 24
S: 152+49+49 = 250 sts | 250 x 0.1= 25 | 24
M: 160+51+51 = 262 sts | 262 x 0.1= 26.2 | 26
L: 172+53+53 = 278 sts | 278 x 0.1= 27.8 | 28
XL: 184+55+55 = 294 sts | 294 x 0.1= 29.4 | 30
XXL: 200+57+57 = 314 sts | 314 x 0.1= 31.4 | 32
You’re going to be using this number to determine the number of armpit stitches your sweater will have. Yep, armpit stitches. They’re a big part of attaching sweater sleeves for the Remy Pullover (or any bottom-up raglan sweater for that matter).
3. Now that you know your armpit number, you’re ready to start attaching sleeves. This is done over the course of one round of knitting. Begin by knitting 25% of your armpit number from your sweater body, so for XS/S/M/L/XL/XXL, that would be 6/6/6.5/7/7.5/7.75. Obviously, you can’t knit part of a stitch, so the numbers I’m rounding to are 6/6/6/7/8/8, respectively. The other number you’ll need to know for this step is two times that number, which is 12/12/12/14/16/16.
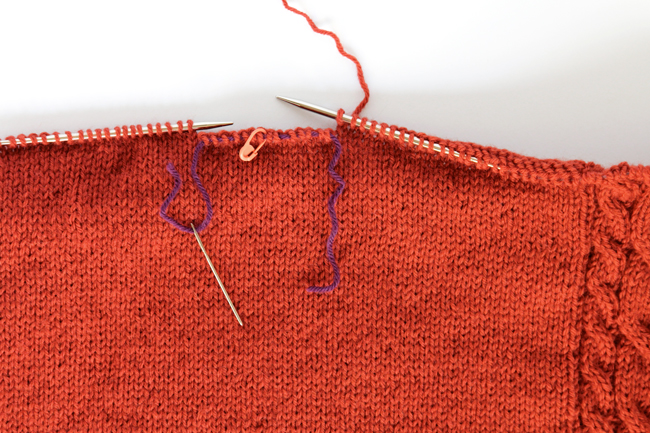
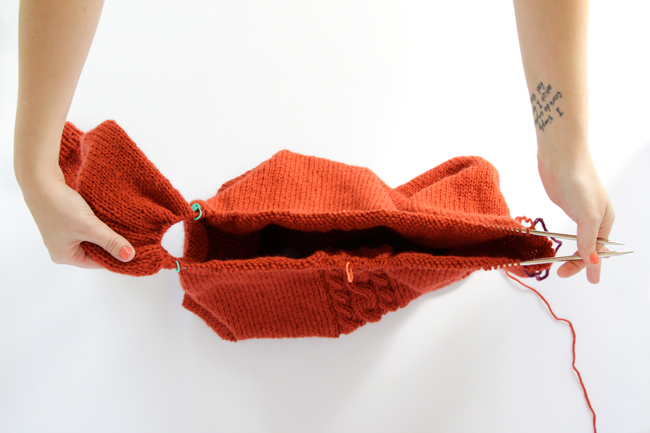
 Since I wear a size L, I’ll use its numbers as my example, but I’ll put them in [brackets] so you know where to swap in your number of stitches as you work through this. So you’ll knit your number ([7] in this example’s case) from the sweater body. Using a length of scrap yarn and a tapestry needle, put [14] stitches (two times the number of stitches you just knit) from your sweater body onto the scrap yarn. Tie the yarn into a knot and let those stitches hang loose. Don’t worry – the scrap yarn will keep the stitches from unraveling! :)
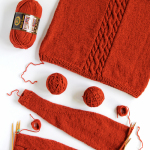
4. Prepare your sleeves for attaching. Find the center back of your sleeves. To do this, put a stitch marker at the center front of each sleeve, which is easy to locate because it’s the center of your 3 over 3 cable. Then, just divide the number of sleeve stitches you’re working by two, and place a marker there. So for XS/S/M/L/XL/XXL, that would be 23.5/24.5/25.5/26.5/27.5/28.5. To make things easier, we’re going to round those numbers up to an even number and place our stitch markers at: 24/25/26/27/28/29.
Then, knit your sleeve until you reach [6] (or 5/5/5/6/7/7) stitches before the stitch marker on the non-cable side of the sleeve, and then M1 (make 1). I’m just having you make 1 at this point so there’s an even number of stitches on each sleeve, compensating for rounding up the half stitch. This brings the number of stitches per sleeve to 48/50/52/54/56/58. And because you’re making 1 inside the center of the armpit of your sweater, it won’t be noticeable.
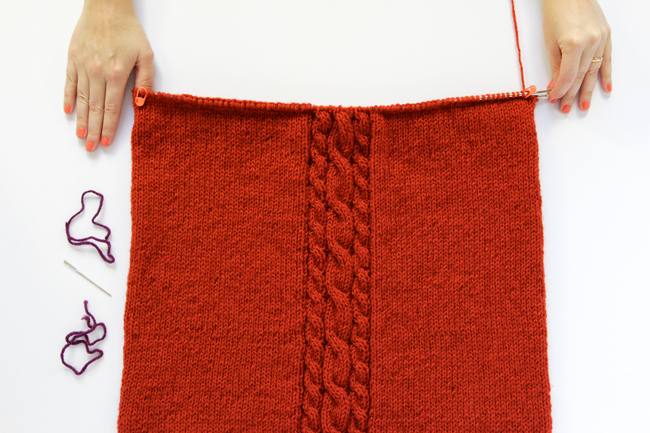
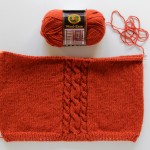
5. Next, keep knitting in pattern across your sweater body. “In pattern” means that you keep knitting and cabling up your sweater, remembering to work your cables at the right points. Since this pattern features just one cable motif per sleeve and one on the center front of the sweater, I won’t need to do the math for each size since you’re simply knitting along until you come to the cable, and then knitting/purling when you get to it. The only thing to remember is to keep track of the number of rows so you know when to incorporate the cable twist. And that’s simply a matter of knowing that you work 10 rows plain, with no cable twist, and on the 10th row, you twist. Let me know if you would like more of an explanation than that – I’m happy to help. :)
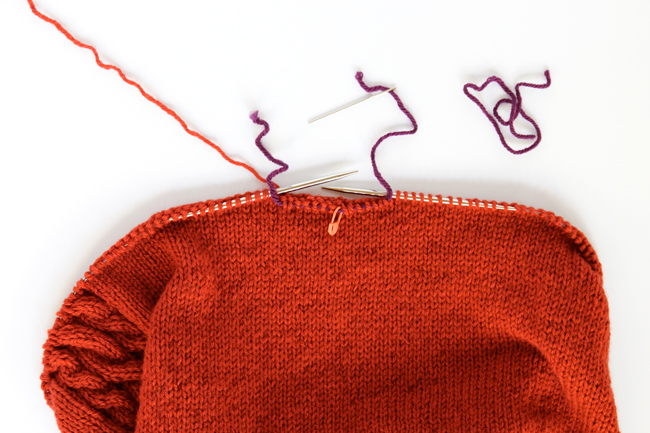
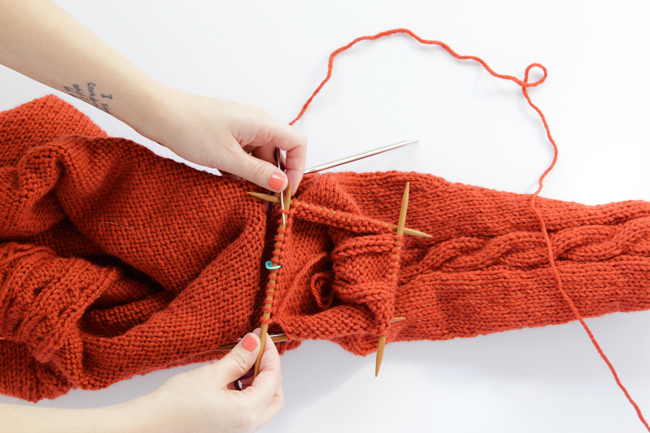
Stop working in pattern when you get to 7 (or your size’s number) stitches before the marker you added in step 1, a.k.a. the center of your sweater body’s round. Using another piece of scrap yarn and your tapestry needle, put [14] stitches on the scrap yarn.
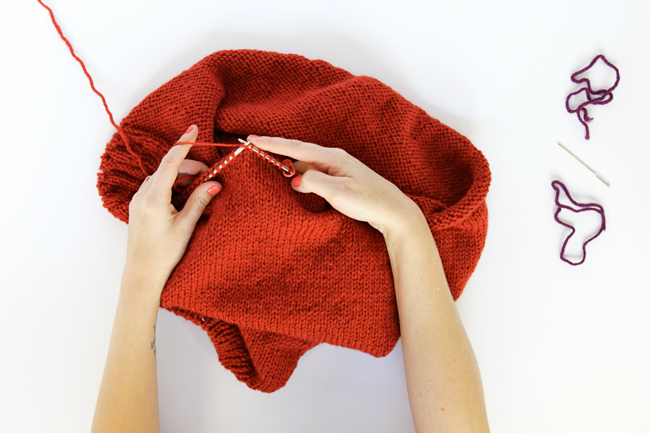
6. Place stitches from sleeve 1 on the scrap yarn. Using your trusty tapestry needle, place [14] stitches from your sleeve on the same scrap yarn the [14] stitches from your sweater body are on and secure that loop of [28] stitches with a knot.
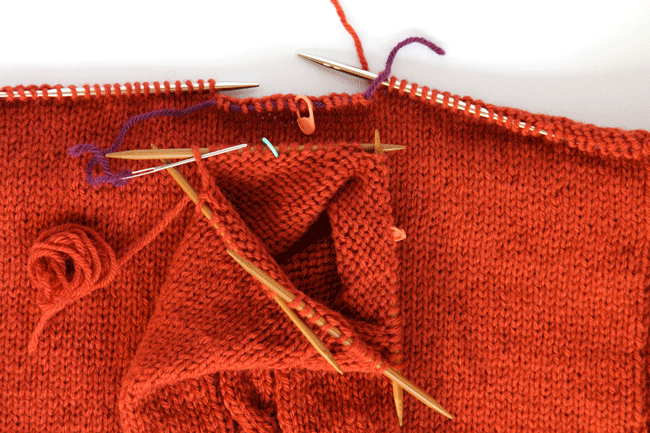
Remember when we did all that math in step 2? The number of stitches that is now on your scrap yarn for each armpit is that number, in my case [28]. Ta da! Math! Minds blown? Mine was the first time I did this. :)
When your sleeve is attached, I recommend tucking the tail of the working yarn from the sleeve into the sleeve itself to keep it out of the way as you work.
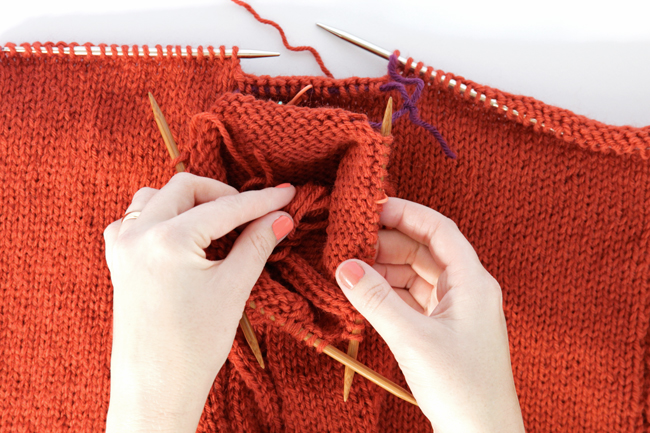
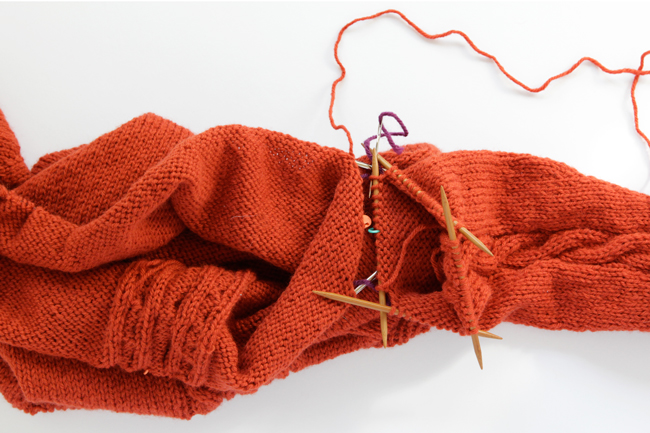
7. Knit around the outside of your sweater in pattern, adding stitch markers where you’ve started and ended knitting stitches from the sleeve. This GIF demonstrates how you knit from your sweater body’s stitches right into the sleeves stitches, bypassing the stitches you’ve placed on the scrap yarn. See how you just close up that gap? Slightly awkward, but it’s how it’s done! The first stitch marker should be placed right in between these two stitches, marking the point where your sleeve meets your sweater body. The markers will be where we work reductions next week, and they’re super useful.
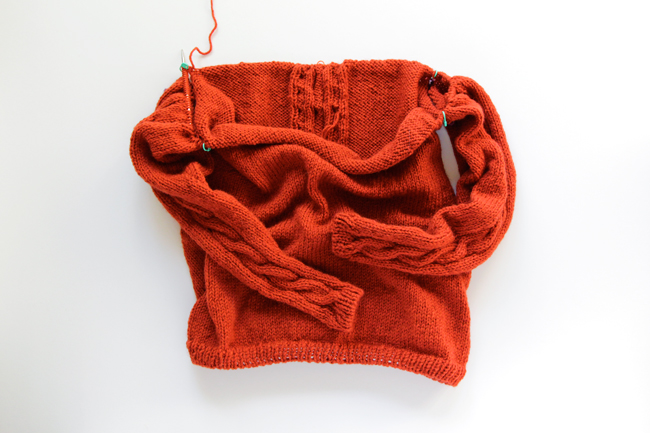
8. Knit across the back of your sweater, stopping when you reach the 14 stitches on the scrap yarn. Easiest step ever, right? And here’s what your sweater should look like when you get to this point. One sleeve attached, a big armpit hole where you attached your sleeve, two markers indicating the start and end of the sleeve stitches, and you’re ready to attach the last sleeve.
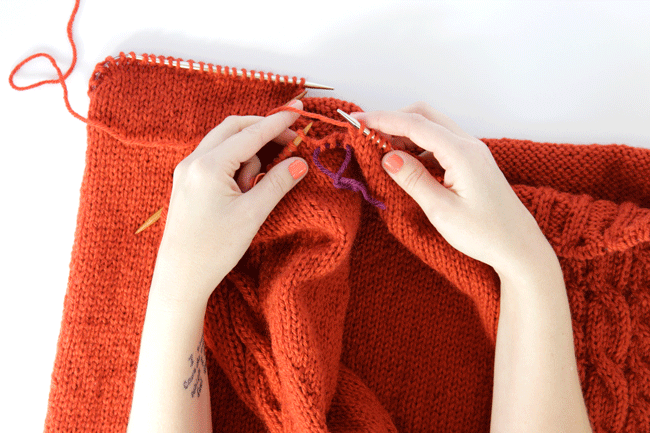
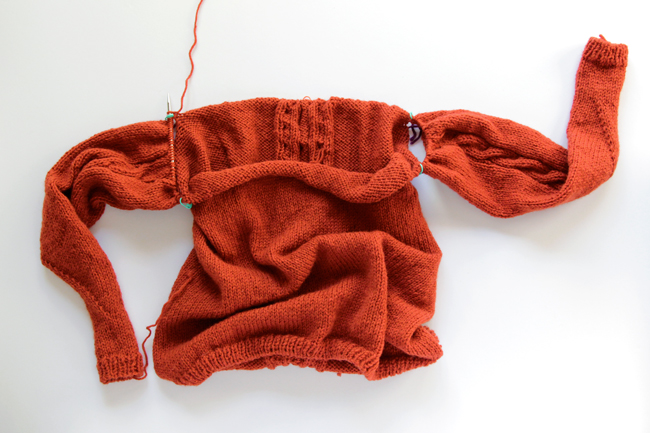
9. Just like in step 6, you’ll grab [14] stitches from your sweater sleeve and add them to the scrap yarn holding [14] stitches from your sweater body. Secure [28] stitches with a knot, and knit around the sleeve, placing a stitch marker just before and after your sleeve stitches. You’ve just returned to the start of the round for your now-sleeved sweater.
10. Knit one round all the way around your sweater in pattern. This helps secure your attached sleeves even better. Now you’re ready for next’s week’s step, reducing toward the collar.
PHEW! The hard part is over!
I realize the first time you try to attach sweater sleeves is challenging – I’ve been there! Please let me know if you get stuck or have any questions! You can comment here or in the Ravelry group or shoot me an email at handsoccupied-at-gmail-dot-com if you need help or clarification at all. And when you get your sleeves attached, don’t forget to tag #handsoccupiedkal online so we can see how you did! Bonus: posting to social media with the hashtag gets you an extra entry into the Lion Brand Prize Pack giveaway!
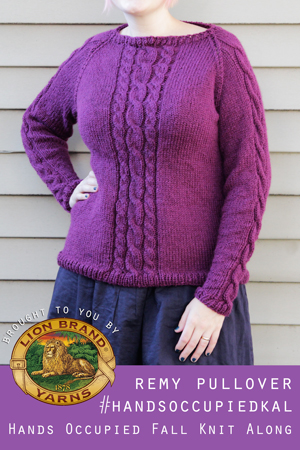
The Remy Pullover knit along is brought to you by Lion Brand Yarns. Check out Lion Brand on social media: Facebook / Twitter / Instagram / Pinterest.
—
Other posts in this series:
- Announcing the fall knit along! The Remy Pullover
- How to do a long tail tubular cast on (optional tutorial for the cast on I like for this pattern)
- Do the math, get the fit / Fall Knit Along Day 1
- Knit Along Tips, Tricks & An Official Schedule
- Knit Along Day 2: Sleeve time!
- Fall KAL Day 3: The Other Sleeve
- How to attach sleeves / KAL Day 4
- How to knit a raglan decrease / KAL Day 5
- How to knit the collar / KAL Day 6
- more coming soon!


Finally got my sleeves attached. Had to do it twice, but now I know I’ll know how to do it next time, and I feel twice as accomplished. Can’t wait to do some more!
Valerie, you have perfect timing! After great editing and scrutiny for errors, the raglan decrease post & pattern are up! I’ve been doing math for 3 straight days – designing 6 sizes = a grand remastery of multiplication tables for calculating decreases and sizes, my friend. :)