• 0 items$0.00
  • Skip to primary navigation
  • Skip to main content
  • Skip to primary sidebar
  • Skip to footer

Hands Occupied

Colorful knitting, crochet, latch hook and macrame from craft book author & designer Heidi Gustad.

  • BLOG
    • Knitting
    • Crochet
    • Latch Hook
    • Macramé
    • Punch Needle
  • ABOUT
  • Shop
  • Nav Social Menu

    • Instagram
    • Pinterest
    • RSS
    • YouTube

How-to: Seed Starter Valentine

January 28, 2013 Leave a Comment

How-to: Seed Starter Valentine | HandsOccupied.com

Valentines are an excuse to show your appreciation for someone just for the sake of showing it. If you want to give your Valentine something unique this year, try giving them a seed starter that can later double as a votive holder. Wondering where this idea came from? February is generally when I start planning my spring garden, so as I planned my Valentine’s Day-related projects, I had seedlings on the brain. Why not combine my love of gardening, the husb’s love of Michael Jackson (this will make sense in a minute…), and our mutual love of basil into a Valentine worthy of more than the paper recycling bin?

Supplies

mini mason jar
rubbing alcohol
potting soil
seeds for your Valentine’s favorite plant
coffee beans and/or small pebbles
glass adhesive, heart-shaped stencil
glass paint
stiff bristle paint brush
small piece of cardstock
thread
scissors
hole punch
spoon

Directions

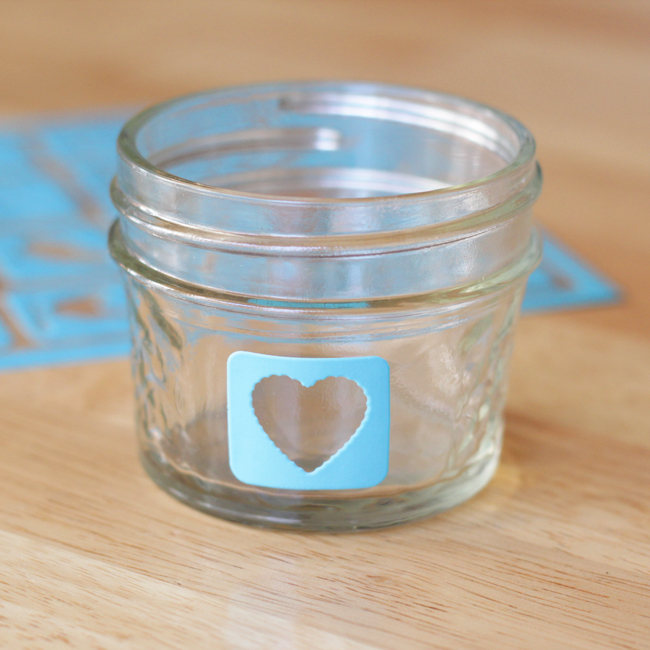
Clean the jar you’re going to paint with a little bit of rubbing alcohol and place your adhesive stencil. I used the new Martha Stewart glass paint stencils for this project because they stick right to the glass itself.
How-to: Seed Starter Valentine | HandsOccupied.com

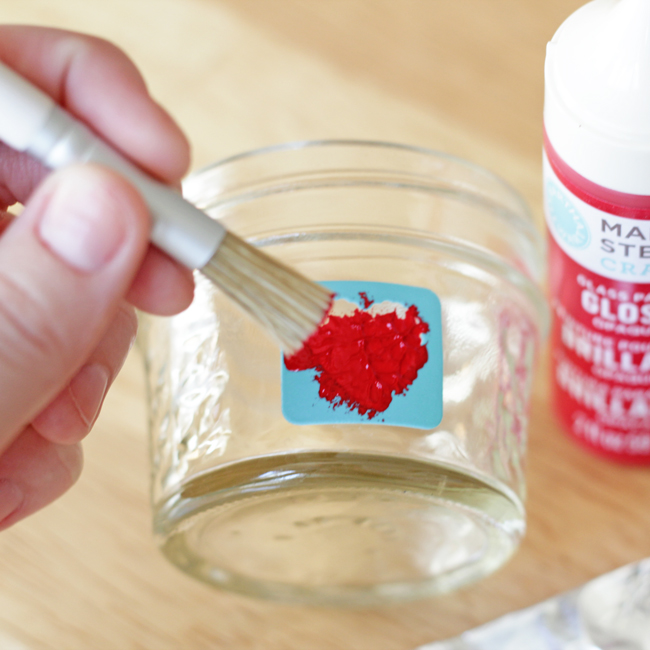
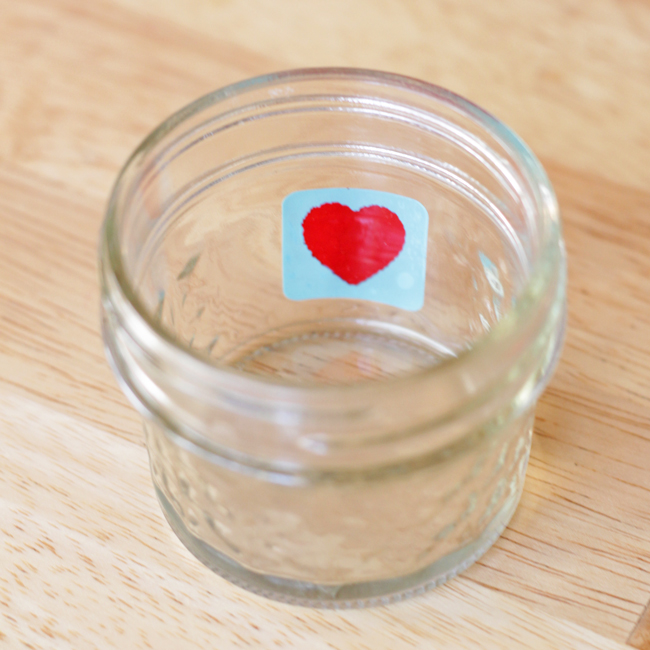
Dab the glass paint over the stencil with a stiff-bristle brush until the stencil is filled completely. If your jar is see through, you can  turn it around to ensure full coverage of the stencil.
How-to: Seed Starter Valentine | HandsOccupied.com How-to: Seed Starter Valentine | HandsOccupied.com

Let paint dry completely before carefully removing the adhesive stencil. If you use the Martha Stewart glass paint, it will air-cure over the course of three weeks and become dishwasher safe.

Now for the fun/messy/gardeny part. Cover the bottom of your jar with coffee beans or small pebbles. This facilitates the drainage necessary for seeds and plants. Mason jars aren’t necessarily the best container to start seeds in since there’s no drainage at the bottom of the container. Making sure to have pebbles/beans for drainage is therefore really important. I used coffee beans because coffee grounds make good fertilizer due to their high nitrogen content and because I had coffee beans on hand.
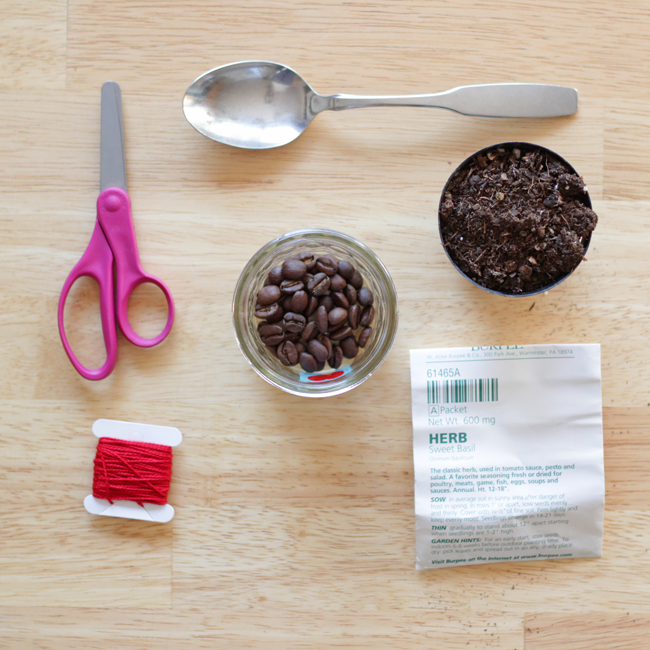
How-to: Seed Starter Valentine | HandsOccupied.com

Next, add potting soil to your jar, leaving enough room for your seeds and the soil coverage they require. Check your seed packet to see how deep to plant your seeds, how many seeds to use, and how much soil to cover them with. My sweet basil seeds needed a decent amount of space, and 1/4-1/2 inch of fine soil coverage.
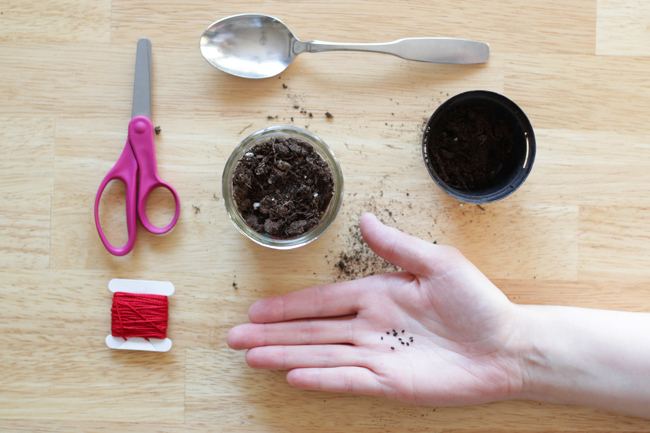
How-to: Seed Starter Valentine | HandsOccupied.com

Give your seeds a good watering, but don’t overdo it! Different plants all need different amounts of water, but a good soaking is the first step to seed starting. Don’t completely saturate your poor plant. You first of all don’t want to be giving your Valentine a cup of mud as their gift. Secondly, a good rule of thumb – if your jar is see through – is to pour enough water so that just the soil is moist (not sopping) throughout with a little bit of water along the bottom with the beans/pebbles. My potting soil was really dried out, so I had to use a decent amount of water to get everything moist.
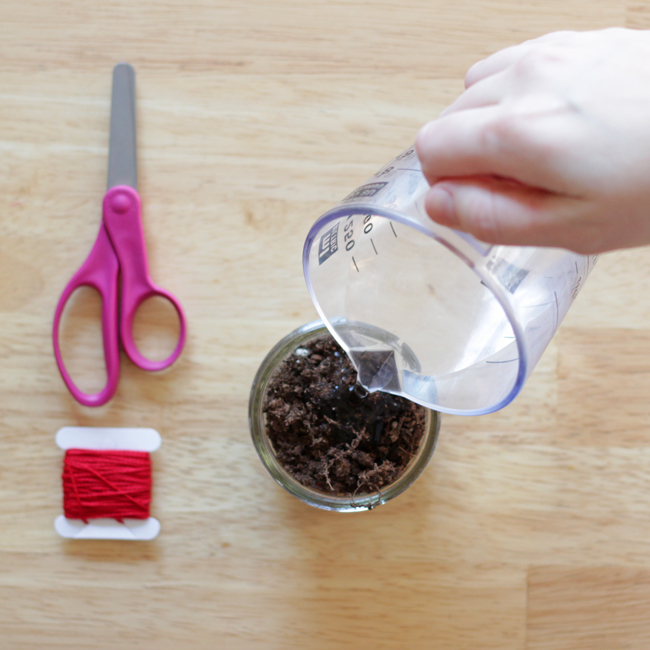
How-to: Seed Starter Valentine | HandsOccupied.com

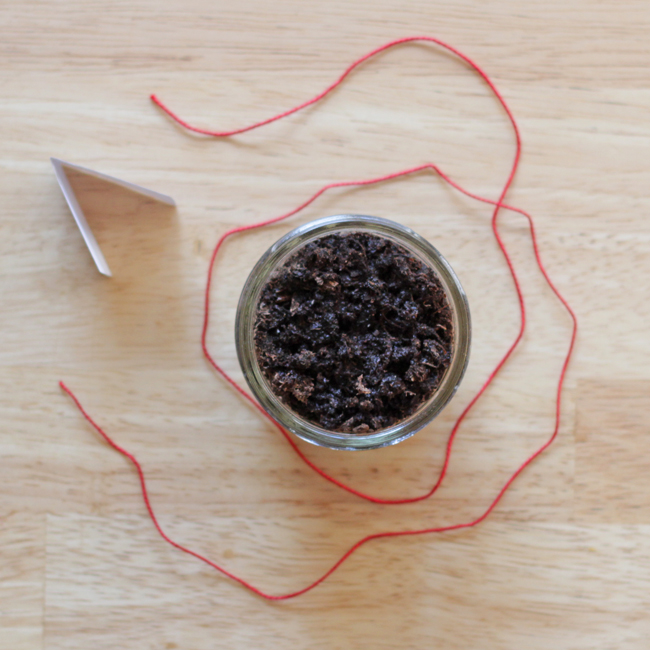
Finally, cut a little card out of some cute cardstock and punch a hole in the upper left. Valentines are the one medium in which it’s totally okay and encouraged to make lame puns, so to round out this Valentine, I added “You wanna be startin’ somethin'” to the tag. You can, of course write whatever message you like inside if you’re not as much of an MJ fan as we are. ;) If your Valentine is completely lost when it comes to plants, you might want to also include some instructions on the basic care and keeping of seeds:

  • water regularly but not too much
  • keep in a warm, light-filled area
  • remember to transplant to a bigger pot with good drainage once they’ve sprouted
How-to: Seed Starter Valentine | HandsOccupied.com

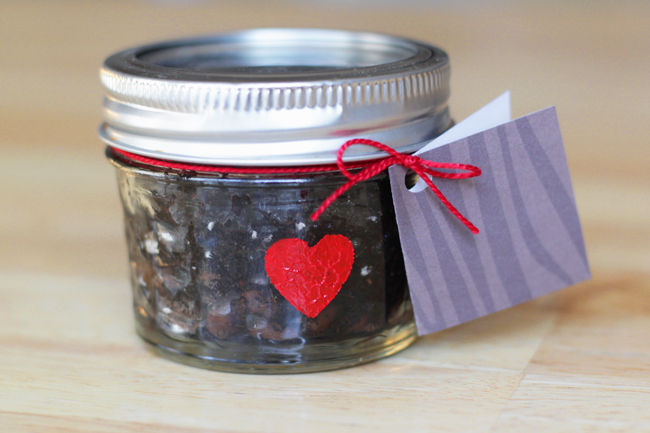
Tie your card to the jar with some embroidery floss wrapped twice around (once around just looked too thin to me), and secure it with a cute bow, trimming excess string from your bow tails. For easy transportation, put a lid on the jar, but remember to let your Valentine know that lid needs to come off asap to avoid a moldy jar of dirt.
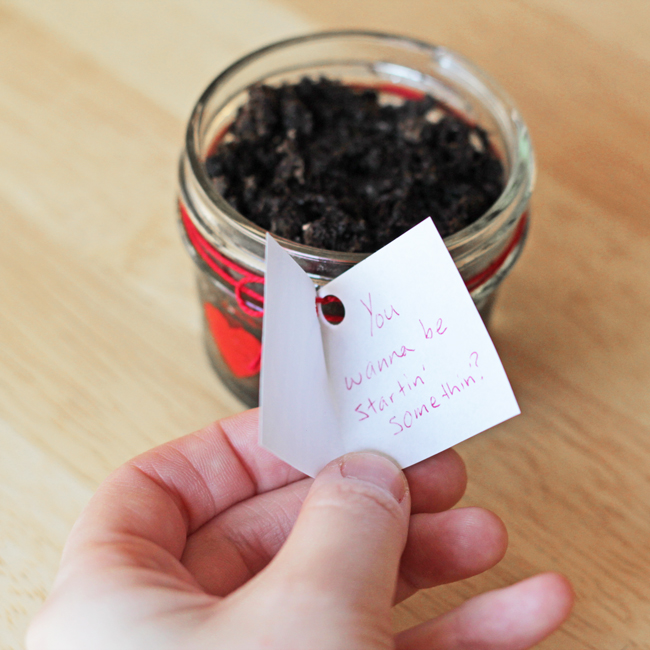
How-to: Seed Starter Valentine | HandsOccupied.com

PS: After the seed has sprouted and been moved to a bigger pot to thrive, you can clean out the jar and have a cute votive candle holder to last year round.
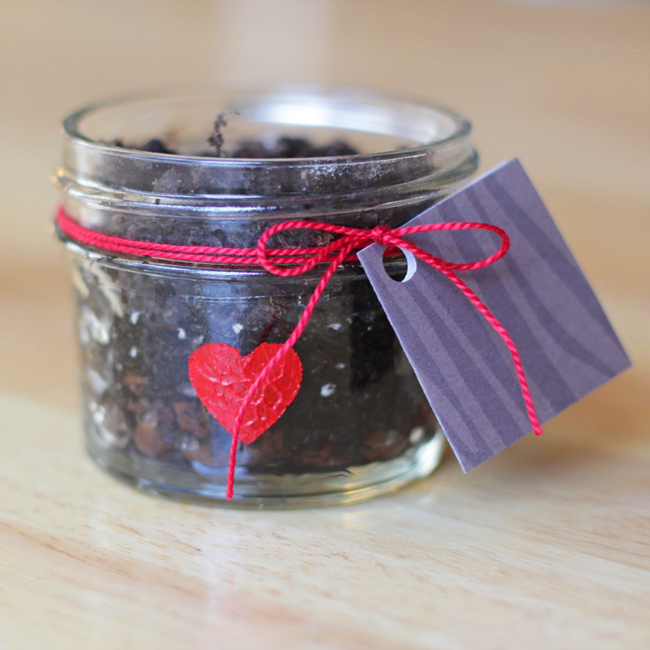
How-to: Seed Starter Valentine | HandsOccupied.com

Filed Under: How-to, Valentine's Day Tagged With: glass paint, martha stewart, michael jackson, seed starter, valentine, valentine's day, wanna be startin somethin

About Heidi

Heidi Gustad is a craft book author & content creator in love with primary colors & vintage vibes. She specializes in knitting, crochet, latch hook and macramé, and her first book, Latch Hook: 12 Projects for the Modern Maker, is out now!

Previous Post: « What to do with a Swiss Army blanket
Next Post: How-to: Punk Rock Valentine’s Clutch »

Reader Interactions

DID YOU LIKE THIS POST?
Visit similar articles...

  • Olympic Rings Valentine Olympic Rings Valentine
  • How-to: Stenciled Leaf MugHow-to: Stenciled Leaf Mug
  • Needle Felted Conversation HeartNeedle Felted Conversation Heart
  • Picks of the WeekPicks of the Week

DON’T MISS ANOTHER UPDATE

Leave a Reply Cancel reply

Your email address will not be published. Required fields are marked *

This site uses Akismet to reduce spam. Learn how your comment data is processed.

Primary Sidebar

Heidi Gustad from Hands Occupied / Craft Book Author and Knitting, Crochet, Latch Hook and Macrame Designer

Hi! I’m Heidi (she/her/hers), a craft book author & pattern designer specializing in knitting, crochet, latch hook & macrame. Really anything with yarn! ❤️  My work combines vintage and modern design elements, featuring bold colors and graphic motifs.

UPDATES BY EMAIL

Monthly highlights sent to your inbox.

Find Me Elsewhere, If You’re There

  • Instagram
  • Pinterest
  • YouTube
Latch Hook by Heidi GustadDiscover Unique Items

Footer

INSTAGRAM

handsoccupied

Craft book author & pattern designer ❤️💛💙
knitting, crochet, latch hook & macramé
.
Please email for pattern support. 🧶

Heidi Gustad 🧶✂️
How to do a one-step provisional knitting cast on How to do a one-step provisional knitting cast on / a.k.a. crochet provisional cast on, scrap yarn cast on
.
I read recently that tiktok and Instagram are being used as search engines more and more. 🤔 I thought since I’m going to all the work of making tutorials on YouTube, I should experiment with making a quick version of them for other platforms. There are obvious teaching limitations to vertical video, short-form content like this, but I think I covered the gist of this cast on in a minute. The YouTube version also covers how to unzip this cast on because there was time for it 👍🏻 L1nk is in my profile. 
.
I’m very much looking for feedback as I continue to make instructional knitting & craft videos. Sometimes good tutorials are hard to find, and (ideally polite) feedback helps me improve. 
.

#handsoccupied #provisionalcaston #knitting #knititngtutorial #knittersofinstagram #crochethook #knittingtutorial
For the first time in a long time, there’s a new For the first time in a long time, there’s a new tutorial from Hands Occupied! 🎉 The video is live on YouTube & the blog. 
.
The post covers what provisional cast ons are & how they differ, and the video covers how to work a one-step provisional cast on using scrap yarn and a crochet hook. (This is a great one to save for future reference.)
.
I learned several names for this method while researching this video & post. Crochet provisional cast on, one-step cast on, scrap yarn cast on - if you know even more names for this technique, please share! 
.
#handsoccupied #provisionalcaston #knitting #scrapyarn #crochethook
Working on a sample for some upcoming videos. It’s an overcast day with intermittent sunshine & I have a scruffy little sidecar. 🐶 Can’t complain! 
.
What’s on your needles this week? 
.
Yarn: @debbieblissknits Cashmerino Aran 
.
#handsoccupied #knitting #knittinglife
Peg boards and craft room organization go together Peg boards and craft room organization go together like peanut butter and jelly. So, as you can see, do latch hook tools and screwdriver organizers! 🪛 
.
I think this trick translates to any tool with a thick handle, so leather working tools, punch needles, print making tools, etc. should work! What other tools am I, a needlecrafter, blanking on right now? 
.
#craftorganization #handsoccupied #latchhook #latchhooking
Pegboard storage is my favorite for craft supplies Pegboard storage is my favorite for craft supplies, so getting a few hung in my new studio has been a priority. Here’s my first attempt. 🔨 
.
Details: This pegboard panel is for organizing my knitting needles, latch hook tools, sewing thread, etc. It doesn’t need to hold much weight, so I didn’t anchor this into a stud - just used basic drywall anchors. I’ve also got a set of two 2’x4’ panels for another spot in my studio, and those will need a stud/more than 3 drywall anchors. Wish me luck! 
.
[description: video features a woman hanging a panel of pegboard using a square dowel and drill]
Load More... Follow on Instagram

Copyright © 2023 / Foodie Pro Theme On Genesis Framework / Branding by Ink + Mortar
All Site & Shop Policies / Privacy Policy / Cookie Policy