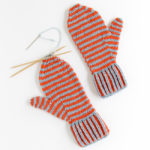
I was originally going to do our second knit along post this week about how to work a short row heel turn, but I realized there was one more linen stitch tutorial I really want to share, in addition to Monday’s basic overview of how to work linen stitch. Today’s Funkasonic post is just for the knitters out there working on the Funkasonic Mukluks pattern, so if you’re only making the mittens, keep plugging away on those jogless stripes – we’ll get back to you in a minute! :)
For a list of all knit along posts so far, scroll to the bottom of this post. For an overview of what’s going on with our knit along in the first place, read this.
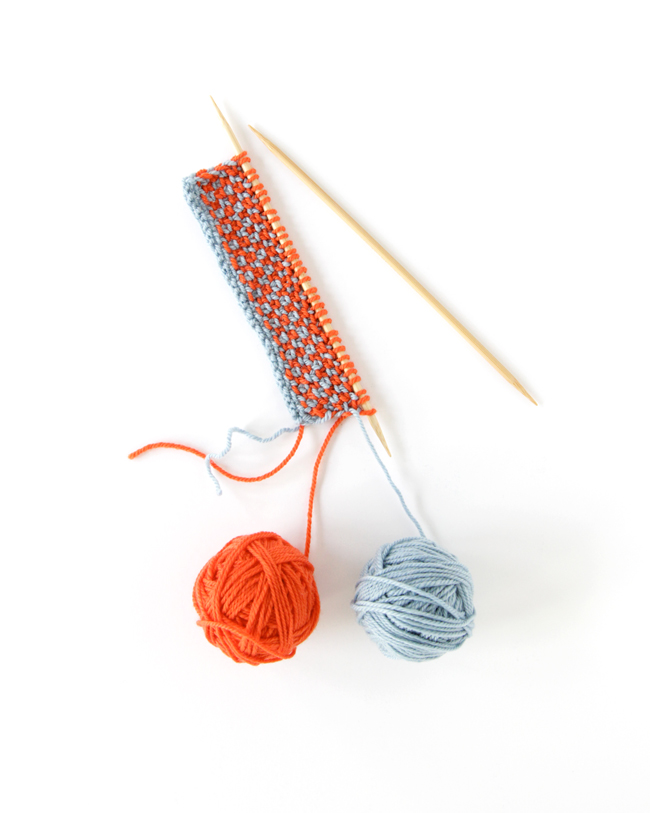
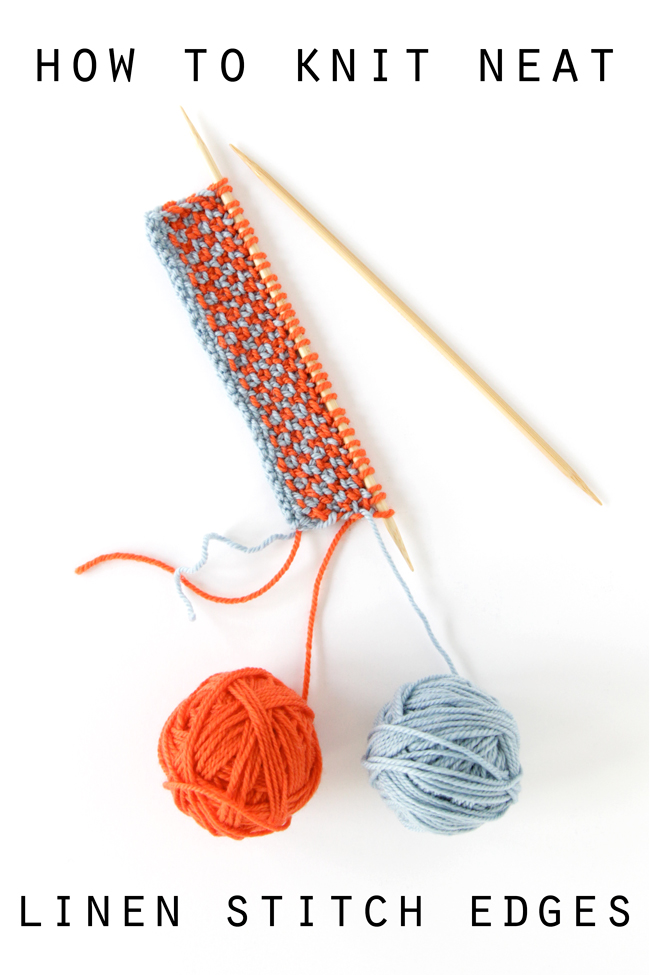
How to Knit Neat Linen Stitch Edges
When you knit a flat piece of fabric that switches colors, uses garter stitch, or any number of other things, it’s hard to get a clean edge. Many beginning knitters, once they’ve gotten the hang of juggling the needles and yarn and understand how to form a knit stitch, realize they have an issue with the stitches on the ends of their rows. Mainly, budding knitters with a good eye wonder why the ends of their rows are too loose and/or look like they’re covered in knots. (I was for sure in this boat myself as a baby knitter!) There are many ways to neaten sloppy knit edges, but forming a chained edge is my favorite. Even if I’m not just working garter stitch, slipping the first (or last) stitch of a row while knitting flat forms a lovely chained edge that is useful in knitting at all skill levels.
How does this apply to the Funkasonic Mukluks? Knit mostly in the round, this literally only applies to the heel flap section of the socks, which is worked flat. As you’ll see in this new tutorial video, slipping a stitch at the beginning of each row of the heel flap forms a gorgeous chained edge that alternates colors, forming a pretty braid. Later on, after you’ve worked your heel turn, that pretty edge makes picking up stitches along your heel flap to form the gusset a breeze because you’ll simply pick up stitches through each V of the chained edge, making your life SO MUCH easier!
Bonus: The point in your sock heels where the heel flap and foot of the sock meet will be much prettier if you use this slipped stitch trick – check out the video for a side-by-side visual of what I’m talking about.
Double Bonus: Even if you’re not knitting the mukluks, and want to try my Faux Woven Cowl pattern, you can take that to the next level with this trick. By slipping that first stitch of the row as shown in the video, your edges are neat, chained and squared off, rather than knotted. Who knew how much a slipped stitch could do?
Past Funkasonic Knit Along entries


Your teaching skills wre excellent as is the quality of your video. I knew the edge trick but not the linen stitch. Thanks for teaching me as I have a difficult time reading knitting instructions.
Thank you! Glad to hear whenever someone appreciates my videos!
PS: My grandma, also a Mary from MN, is the woman who taught me to knit. :)
Beautiful work! I’ve been wanting to do something like this for a long time and you’ve given me the best explanation of how to do it. Thank you so very much!
Thank you, that looks really good! I didn’t like how loose my edges look, can’t wait to try this for a scarf I’m starting on.
I enjoy your blog and appreciate your attention to detail I have been having more than my share of trouble with the linen stitch…after about 8 rows a ‘ridge’ starts to form. I have no idea what I am doing wrong. Any thoughts?
Can you send me a photo? I’ll be glad to take a look: heidi @ handsoccupied.com
Love your video about clean edges but how does one join the second colour of yarn when the first stitch is slipped.
Just like joining a second color at the end of the row. The difference will be that your end to weave in will be hanging from the second stitch of the row instead of the first.
Thank you very much for your reply it it a great help
Thank you for your prompt reply it is of a great help to me.
Kind Regards
Kathy
This is exactly what I was looking for! I’ve made a test swatch and my RS left edge looks beautiful, but the braid up the RS right edge where the color changes happen is tight. Any tips for making the right edge slipped stitches the correct tension?
That’s a great question! You can compensate by manually working looser when you’re slipping stitches on the other end, but it’s an imperfect solution. I haven’t tried this myself (because i think it could be annoying to actually do 😅), but you could experiment with using a cable needle or use a double wrap to address the tension. I hope this is helpful!