• 0 items$0.00
  • Skip to primary navigation
  • Skip to main content
  • Skip to primary sidebar
  • Skip to footer

Hands Occupied

Colorful knitting, crochet, latch hook and macrame from craft book author & designer Heidi Gustad.

  • BLOG
    • Knitting
    • Crochet
    • Latch Hook
    • Macramé
    • Punch Needle
  • ABOUT
  • Shop
  • Nav Social Menu

    • Instagram
    • Pinterest
    • RSS
    • YouTube

How-to: Pleated Lampshade Redo

September 14, 2011 6 Comments

How-to: Pleated Lampshade Redo at Hands Occupied

Supplies

a conically-shaped lampshade
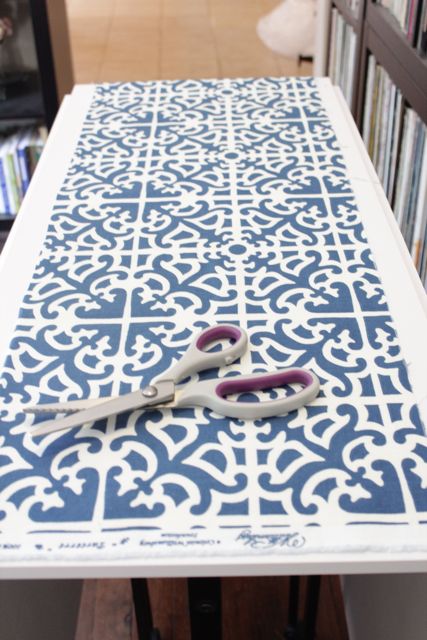
upholstery fabric
scissors
(optional) pinking shears
hot glue gun
sewing machine
straight pins
iron
tape measure

Directions

Carefully remove the cover from your old lampshade. This process will vary depending on the cover used, or if there’s a cover at all.
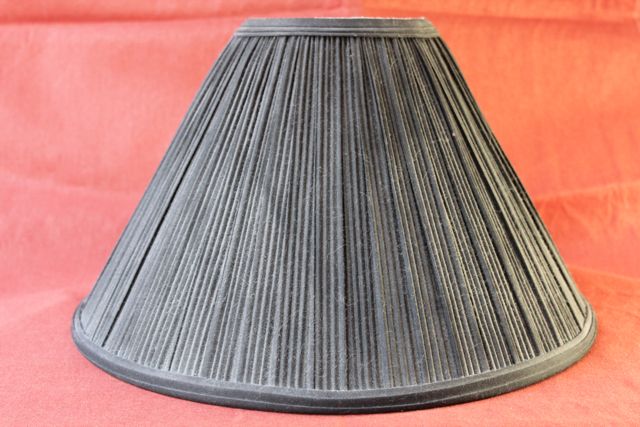
Cut your upholstery fabric. Measure around the bottom (wider end) of your lampshade using a tape measure. Measure the height of your lampshade from top to bottom. Your fabric should be the length of the circumference of the bottom of the lampshade plus an inch or so for seam allowance. The fabric’s width should be the height of the lampshade.

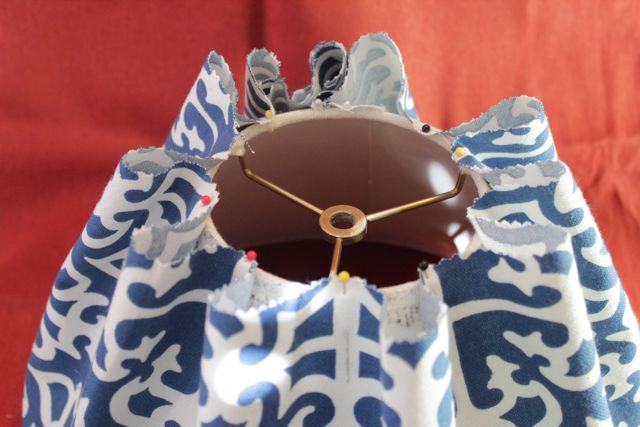
Begin pinning your fabric to the lampshade using one pin at the top and bottom. Pin fabric all the way around, pinning it every few inches on the bottom and every inch or so on the top, depending on how wide you want your pleats to be.
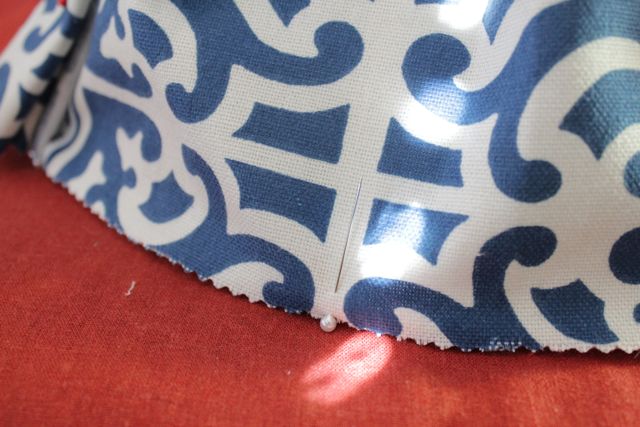
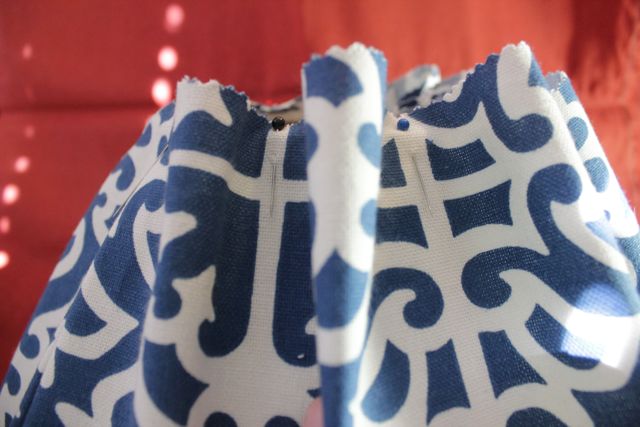
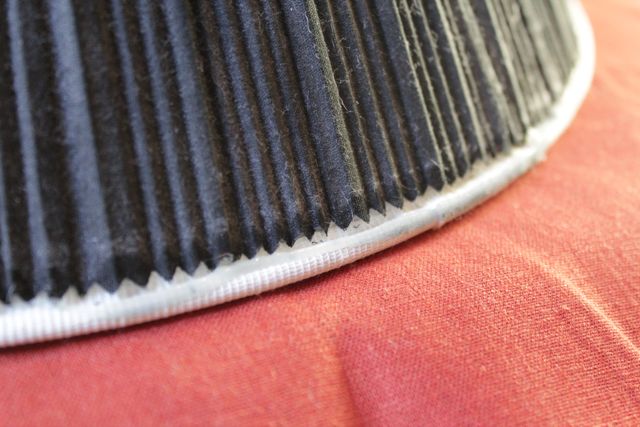
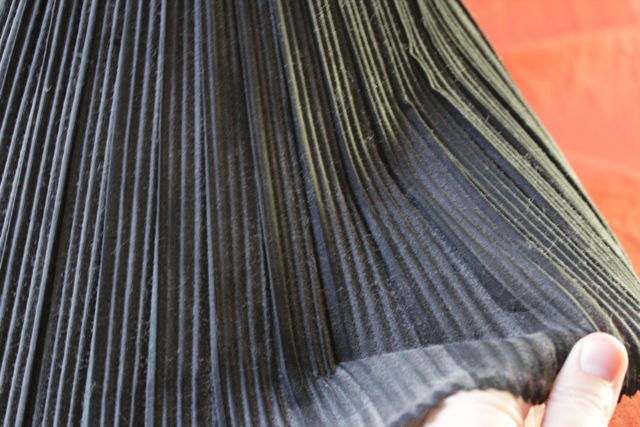
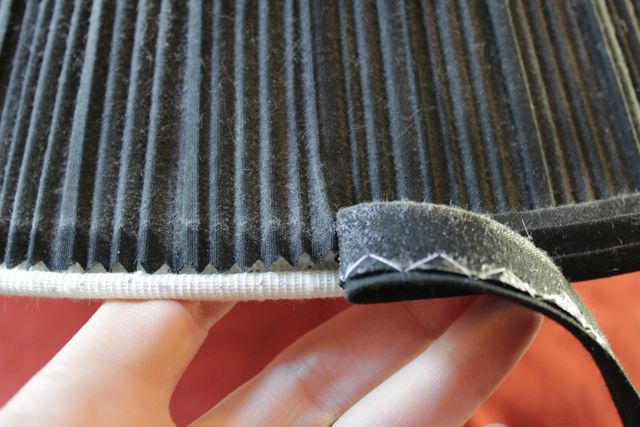
Using your fingers, flatten each wave in your fabric at the top (as shown) and pin it down. Lucky for me, my lampshade’s adhesive stayed every so slightly sticky despite removing the old cover. I still pinned each pleat, but they kind of stayed in place on their own. I think you could recreate this effect if you experimented with an adhesive spray before pinning on your fabric. Just a thought.
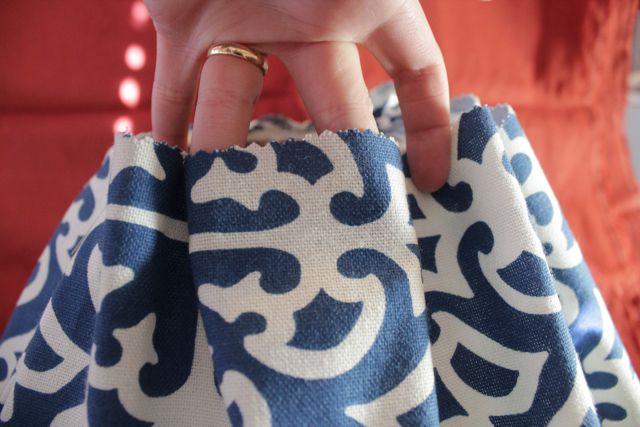
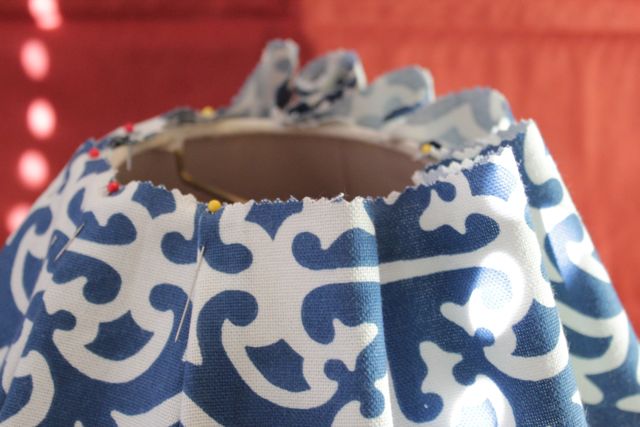
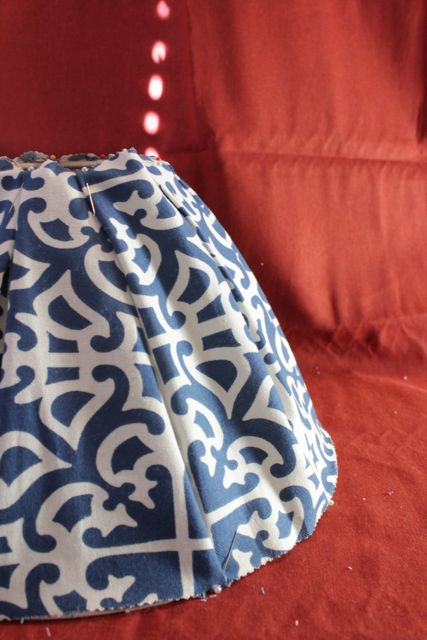
Using an iron on a low setting, iron directly on your lampshade to secure your pleats. At this point, I set aside my project for a few days, pins and all. When I set out to finish the lampshade, my pleats were set even more.

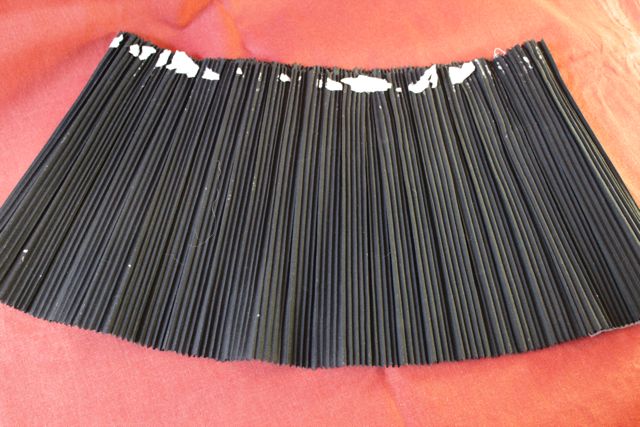
Next, remove the fabric from your lampshade, pinning your fabric to itself as you go. The fabric will look like a C or a half-moon when it lays flat.
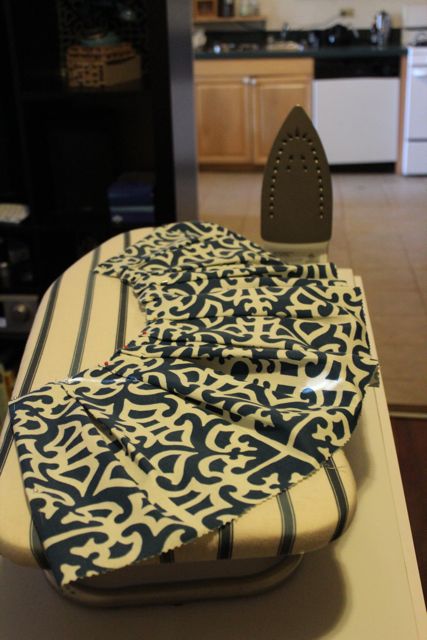
Iron the fabric on a high setting. This will reduce the bulkiness of your lampshade once you’re ready to reattach the fabric cover.
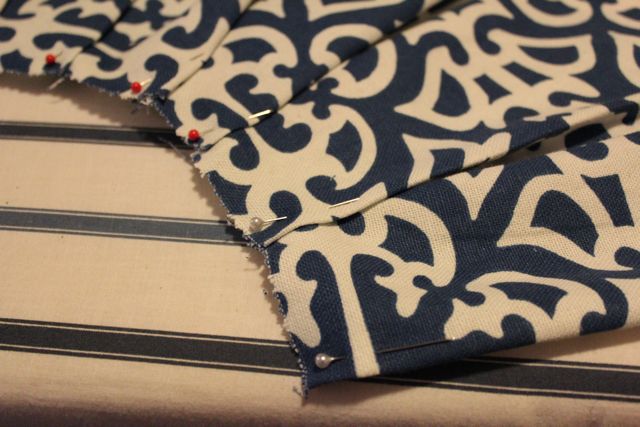
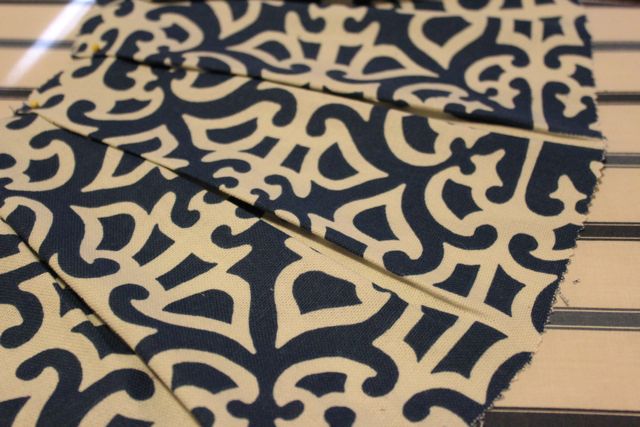
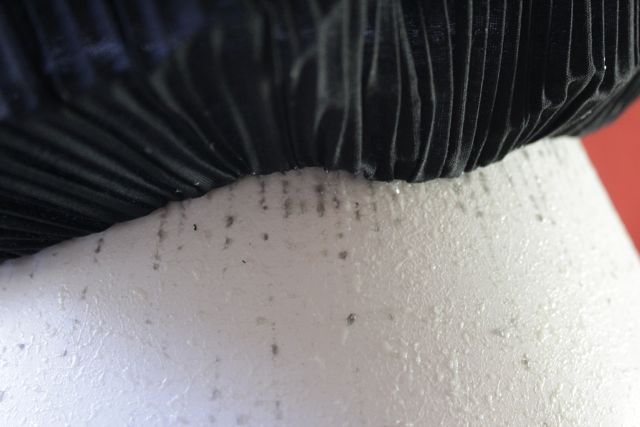
Reattach your fabric to the lampshade using hot glue or a spray adhesive, being careful to keep it straight. I’d cut my fabric a little long, so I folded the end over and glued a little lip down to make the cover extra snug.
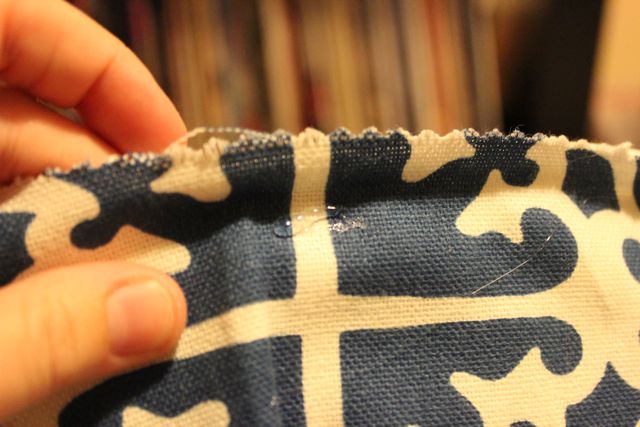
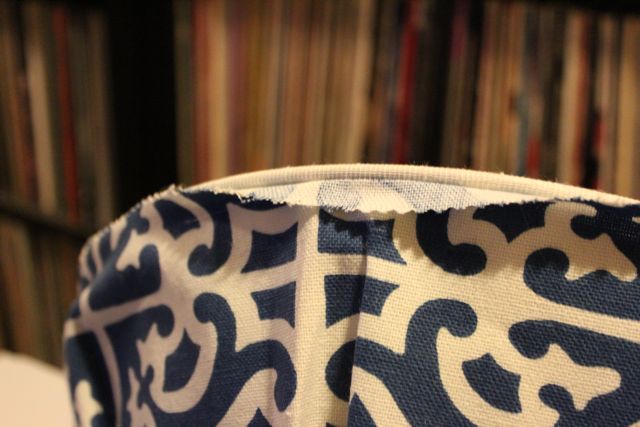
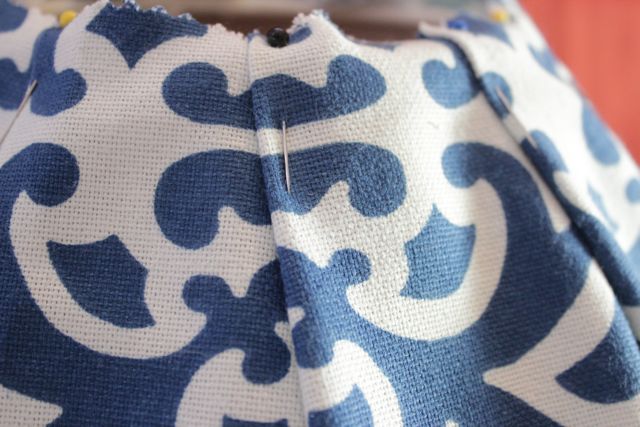
I used a little dab of hot glue at the top of each pleat as I removed the straight pins to lock them down.
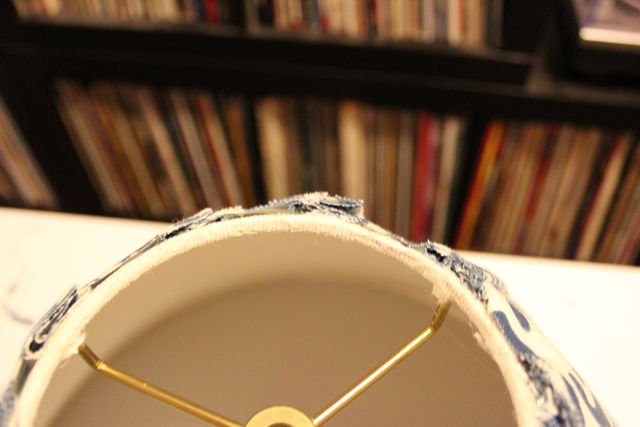
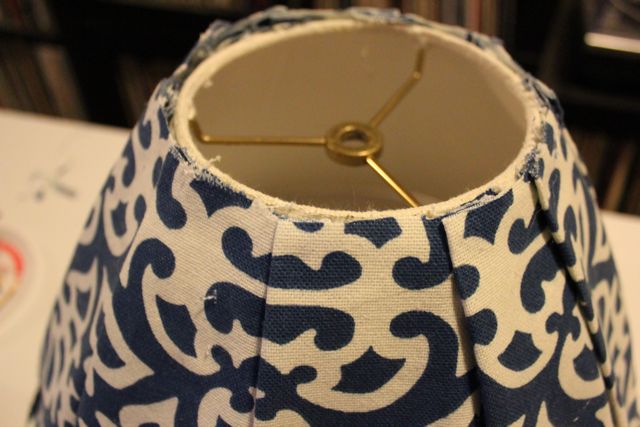
I also gave the lampshade a once over with an iron on low to make sure everything stuck.
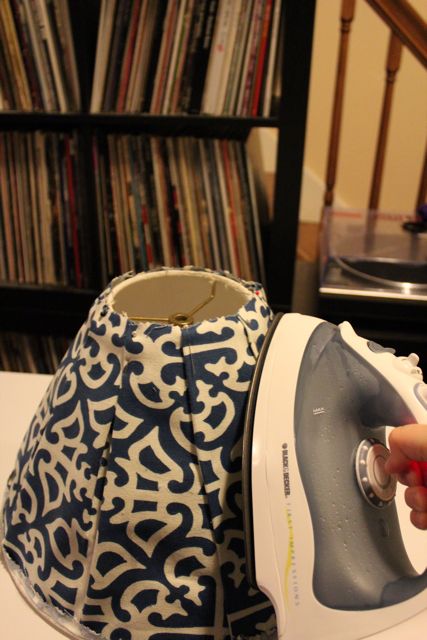
Cut two strips of your fabric, an inch-and-a-half wide. One strip should be the circumference of the top of your lampshade plus one inch, and the other should be the circumference of the bottom of your lampshade plus one inch.

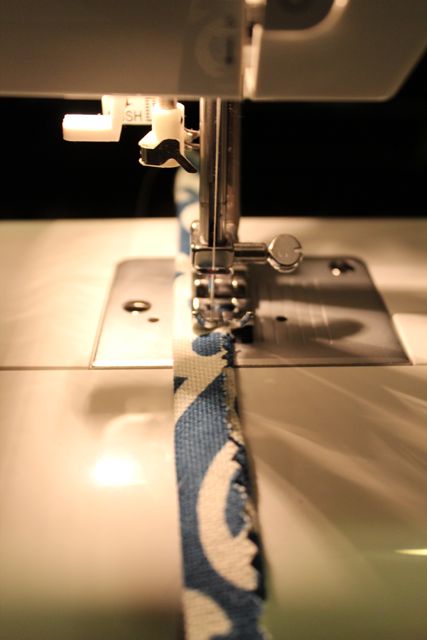
Fold one half inch of your fabric and pin it to your ironing board, as shown. Iron it down. Then, fold in the other side, pin it to your ironing board, and iron that down as well. Sew the strip using a sewing machine. Repeat this process for the other strip of fabric.
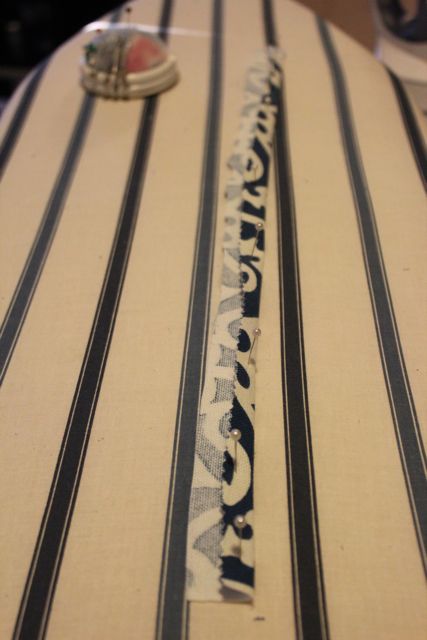
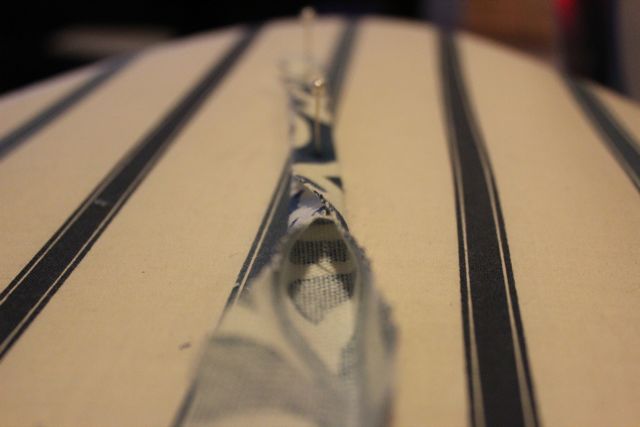
Now, all you’ve got left to do is glue each strip to the top or bottom of your lampshade using hot glue. Tuck in and glue down the end to prevent fraying.
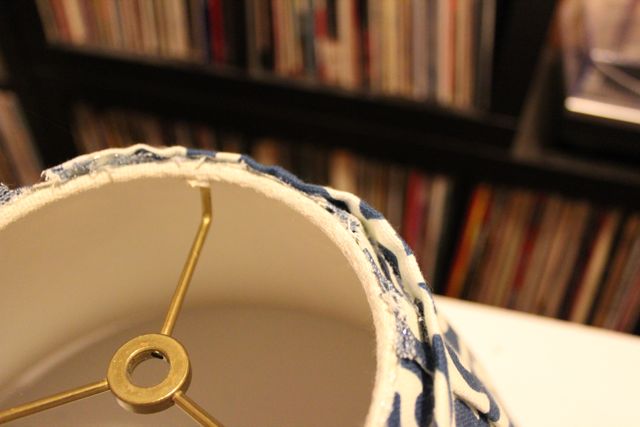
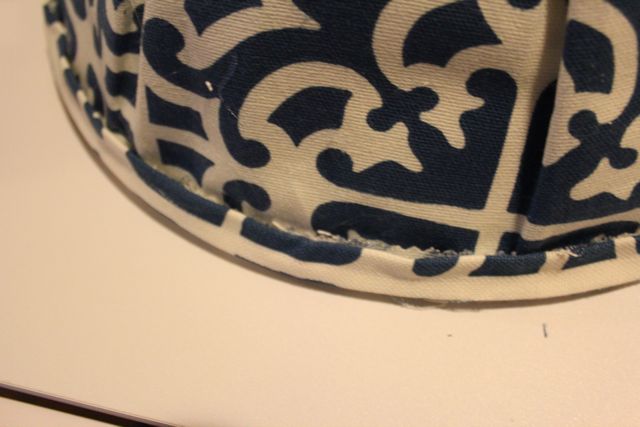
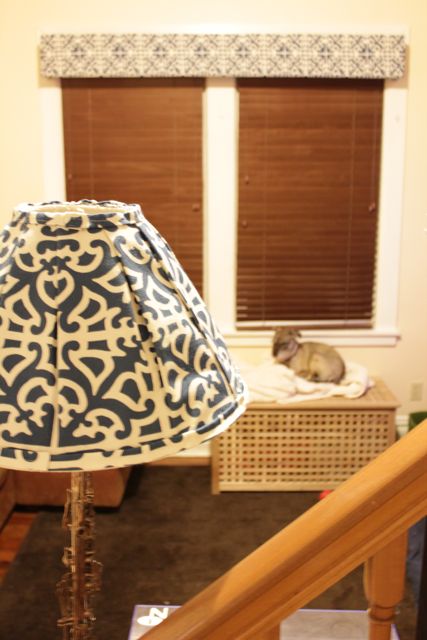
I love how this turned out. I was worried it was going to look too much like a cheerleading skirt, but I think it turned out all right!
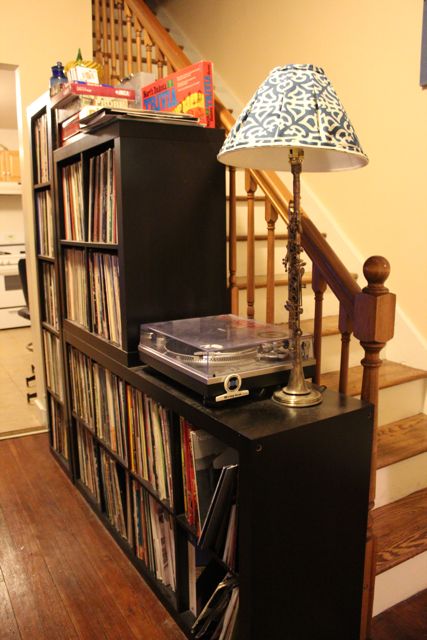
Yes, my husband has a huge record collection (I buy craft supplies, he buys LPs. That’s the deal. ;)). And yes, the lamp pictured is a very old silver clarinet. It’s been in my family for years, and one of my grandparents made it for me. Stay tuned for more on the lamp in an upcoming edition of My Family’s Crafts. For now, check out how cool the lampshade looks with my no-sew valance at the top of this post.
Filed Under: How-to Tagged With: diy, hot glue, How-to, lampshade, pleats, Sewing

About Heidi

Heidi Gustad is a craft book author & content creator in love with primary colors & vintage vibes. She specializes in knitting, crochet, latch hook and macramé, and her first book, Latch Hook: 12 Projects for the Modern Maker, is out now!

Previous Post: « How-to: Indoor Herb Garden
Next Post: Inspiration Thursday »

Reader Interactions

DID YOU LIKE THIS POST?
Visit similar articles...

  • How-to: Punk Rock Valentine’s ClutchHow-to: Punk Rock Valentine’s Clutch
  • How-to: Louise Hat from Bob’s BurgersHow-to: Louise Hat from Bob’s Burgers
  • Attention, DIY Brides & Handmade Hostesses!Attention, DIY Brides & Handmade Hostesses!
  • Knitting Needle Case DIYKnitting Needle Case DIY

DON’T MISS ANOTHER UPDATE

Comments

  1. Bianca Williams

    March 7, 2014 at 11:52 pm

    You did a really nice job. Thank you for the detailed pictures. :)

    Reply
  2. Carolyn

    April 13, 2014 at 6:50 pm

    I am trying to do the same thing to a lamp that I have. Unfortunately I am having a very difficult finding material to co-ordinate with the colors in my living room. I didn’t realize that the old plated cover was glued to another lamp shade underneath. I purchased some ribbon to go around the end of the old pleated shade but it requires more ribbon that I have on hand. Now if I could find some upholstery coordinating fabric I would be ready to complete the project….

    Reply
  3. Wendy

    November 6, 2015 at 5:01 am

    I just wanted to thank you for your tutorial on lampshades. I have searched and searched for a lampshade replacement and oh my goodness the prices. I have brought home two different shades only to return them. I came across your blog and thought Id give it a try. What did I have to lose?? Well I love it! Its in the pinned stages but I can’t wait to press it and glue it on in a few days!

    Reply
    • Heidi

      November 6, 2015 at 8:01 pm

      Wonderful! Glad you found this useful. :)

      Reply
  4. Sheri

    March 15, 2022 at 2:22 pm

    I really wanted to view this post, but the pictures quickly turned to ads before I was able to view them. This was very annoying.

    Reply
    • Heidi

      March 16, 2022 at 1:24 pm

      Oof, that’s a new ad type, and I agree it’s not ideal. I’ll email the robots at my ad network to get that kind of ad disabled. Thanks for the heads up. ✌️

      Reply

Leave a Reply to Sheri Cancel reply

Your email address will not be published. Required fields are marked *

This site uses Akismet to reduce spam. Learn how your comment data is processed.

Primary Sidebar

Heidi Gustad from Hands Occupied / Craft Book Author and Knitting, Crochet, Latch Hook and Macrame Designer

Hi! I’m Heidi (she/her/hers), a craft book author & pattern designer specializing in knitting, crochet, latch hook & macrame. Really anything with yarn! ❤️  My work combines vintage and modern design elements, featuring bold colors and graphic motifs.

UPDATES BY EMAIL

Monthly highlights sent to your inbox.

Find Me Elsewhere, If You’re There

  • Instagram
  • Pinterest
  • YouTube
Latch Hook by Heidi GustadDiscover Unique Items

Footer

INSTAGRAM

handsoccupied

Yarn craft designer & author. Into intarsia knits, latch hook, color & vintage-modern style.
❤️ Email for pattern support
👇🏻 Book, Patterns, Tutorials

Heidi Gustad 🧶✂️
Sunday stitches with June. ☺️ . Yarn: @brookly Sunday stitches with June. ☺️
.
Yarn: @brooklyntweed Arbor
Pattern: in-progress by yours truly 
.
#handsoccupied #intarsia #colorworkknitting #intarsiaknitting
When it’s August & the crew has the day off, the When it’s August & the crew has the day off, the only thing to do is a Knitflix marathon! I hadn’t seen the latest season of Stranger Things and had a TON of knitting to do, so we decided why not make a day of it? For non knitters, this is a pretty accurate depiction of what a dream day looks like for maker types. (Plus or minus a cranky but cute house pet.) 
.
What does your dream knitting day look like? 
.
Just making this for fun & to see how it feels to distill a yarn day into a short video like this. Big thank you to Jamie & Mariah for being my friends, even though they said “it’s okay if you don’t tag me in this.” 🤣🤣🤣🤣🤣 
.
#knitflix #knitting #knittingwithfriends #intarsia #handsoccupied #knitsocks #chicagoknitters
Are you looking for some late summer reading picks Are you looking for some late summer reading picks? Here are 3 fresh titles for makers of all ages - full reviews are on my bl0g, along with a giveaway for a copy of Knitstrips! The 🔗 is where you’d think. 😉
.
To Make by Danielle Davis (@writesinla) / Knitstrips by Alice Ormsbee Beltran & Karen Kim Mar (@ik_knitstrips) / This Long Tread by Jen Hewett (@jenhewett) 
. 
#summerreading #bookshelf #readingrecommendations #handsoccupied #booksformakers #craftbooks
New on the blog today! This former Librarian revie New on the blog today! This former Librarian reviews three making-related books for kids, teens & adults. And there’s a copy of one up for giveaway too! 📚 
.
To Make by Danielle Davis (@writesinla) with pictures by Mags DeRoma (@magsderoma) / Knitstrips (@ik_knitstrips) by Alice Ormsbee Beltran & Karen Kim Mar / This Long Thread by Jen Hewett (@jenhewett) 
.
I’ll share preview page-through videos for these this week too, but for now the written reviews are at the top of handsoccupied dot com along with my search bar if you can’t find ‘em. All giveaway details are listed in the review post. 🤙🏻 
.
(^ I heard a rumor that if I tell you to exit this app, no one will see this post, so plz forgive the song & dance just in case it matters. 🙈)
.
#handsoccupied #summerreading #booksformakers #booksforcrafters #books #knittersofinstagram #craftbook #knittingbook
I think about the wrong side of my intarsia knitti I think about the wrong side of my intarsia knitting kind of like some embroiderers do: I get (probably too) excited when the back’s neat and tidy. Are you this way? Is it just me? 
.
Pictured is the wrong side of a large primary color intarsia swatch I knit for an upcoming design in @brooklyntweed Arbor. When I pulled it from my studio, I thanked my former self for talking the time to knit, weave in ends, & block a clean swatch already. As critical as they are, I’m excited to not have to make one today. I’ll advocate for swatching all day long, but I won’t pretend it’s like the funnest step in the process! 😆🧶
.
#stopswatchandblockit #intarsia #intarsiaknitting #handsoccupied #knitincolor #knitdesign #handknits
Load More... Follow on Instagram

Copyright © 2022 / Foodie Pro Theme On Genesis Framework / Branding by Ink + Mortar
All Site & Shop Policies / Privacy Policy / Cookie Policy