![]()
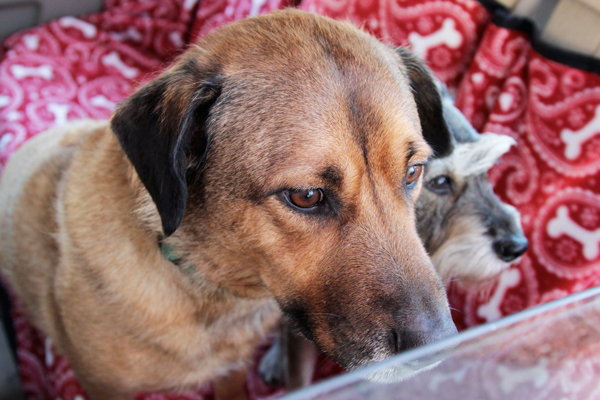
Above is a rare glimpse of my handsome bigger dog Woodrow*, a chow mix whose fur sheds everywhere. It’s the kind of fur that seems to weave its way into everything, including car upholstery. The last thing I want to do in the middle of a long road trip with two pooches is to take a break to vacuum the back seat of my beloved Kia Optima. If you ever travel with pets, or even messy kids, I recommend making your own back seat protector. Even with the most basic of sewing skills, which is totally the camp I fall in, you can sew this back seat protector in an afternoon. With this washable car accessory, you can make your dogs feel at home – even in the car.
*He’s scared of the noises my camera makes! Aww, right?
Supplies
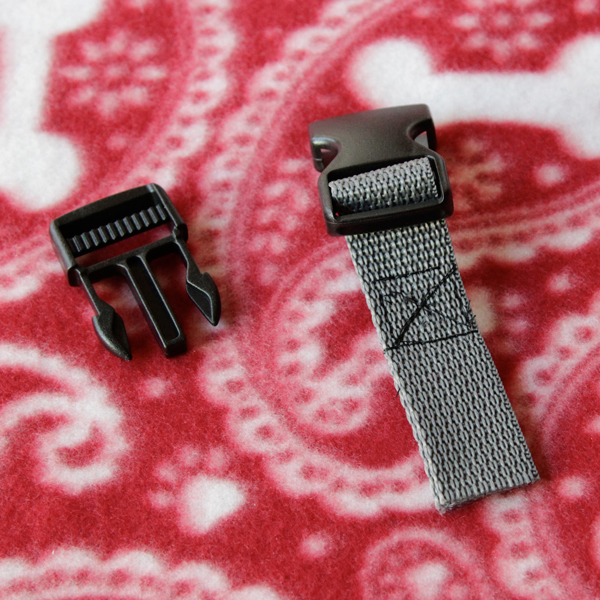
4.25 yds nylon strapping material, 1 inch wide
1 inch wide slide release buckle
3 packages of 3 inch double fold bias tape/quilt binding
2 yds – polar fleece that’s at least 54 inches wide
2 yds – 54 inch upholstery fabric
sewing machine
thread
fabric scissors
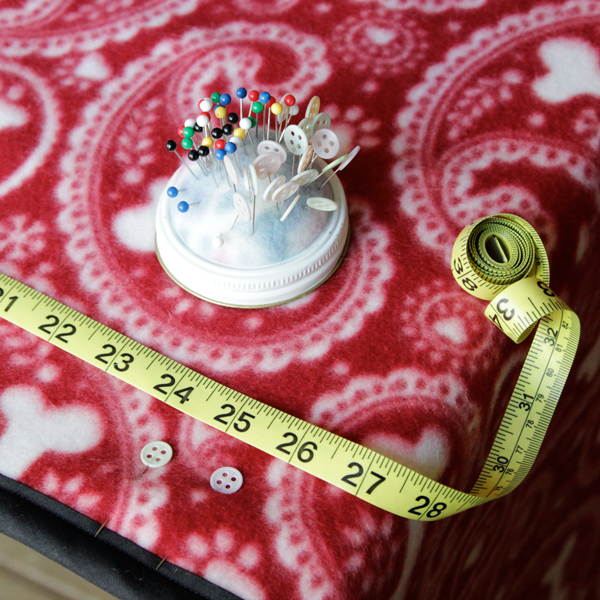
tape measure
straight pins
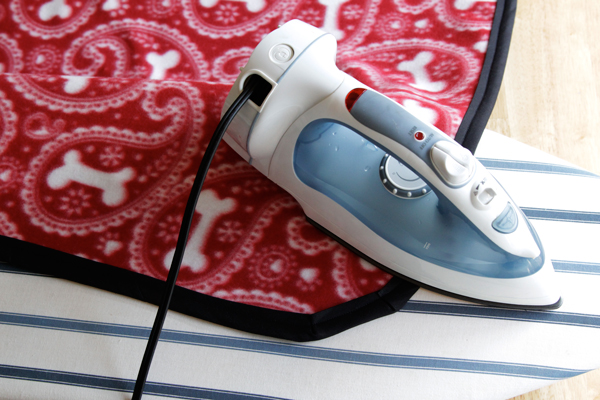
iron
Directions
Measure the back seat of your car for dimensions listed below. If you’re driving a 2006 Kia Optima like me, you can use my dimensions.
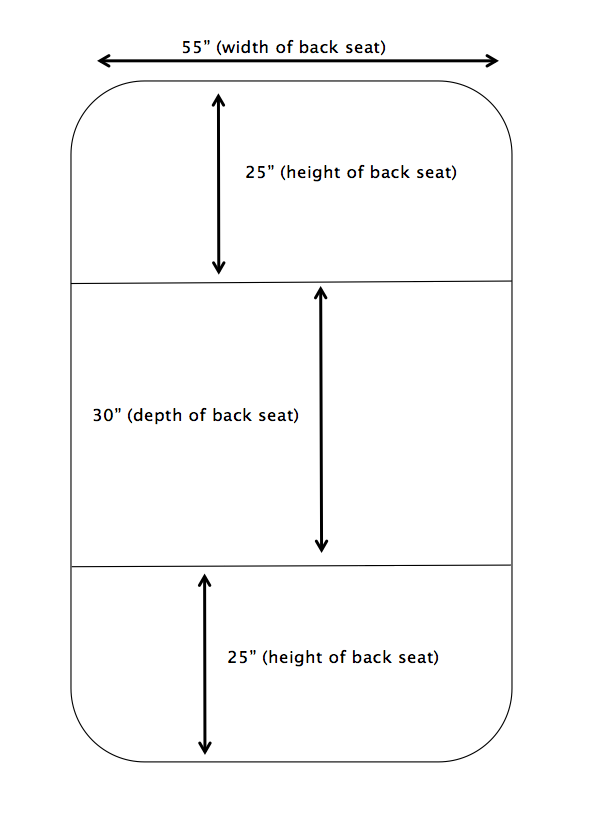
Iron your upholstery fabric before beginning to remove any wrinkles. Cut your fabric so it meets your back seat’s dimensions. To make purchasing and cutting fabric easier, I stuck to two yards (72 inches) of fabric length. 54 inches is a standard width for fabric, so I decided to make my finished back seat cover 54 by 72 inches for simplicity’s sake. Remember when I said I’m no expert seamstress?
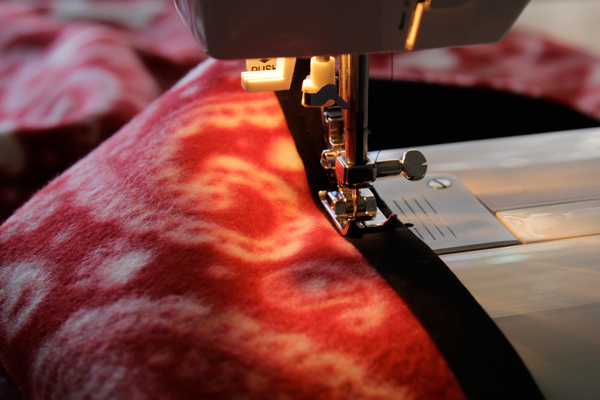
Pin your fabric together, wrong sides facing each other. Sew a basting stitch all the way around to keep the large pieces of fabric in place when you sew. Remove the pins. Pin bias tape all the way around the edges of your fabric and sew it in place with a sewing machine, removing your pins as you go.
 Iron all of the bias tape to smooth it out.
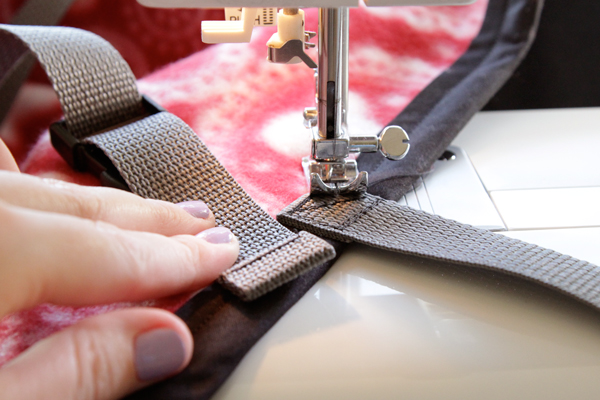
Cut your nylon strapping into the following lengths: 80 inches, 30 inches (2 pieces), 7 inches. Thread the 7 inch piece through the female end of the slide release buckle.

Sew a square with an X through it near the buckle, as shown.
Measure 25 inches (or the height of your back seat) from the shorter end of the rectangle of fabric, and mark it with a pin.
Hand sew the raw end of the nylon strapping to the rectangle where you marked it, folding under the raw edges.
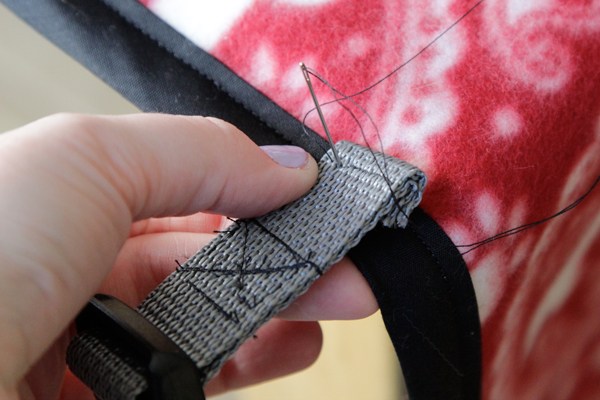
Thread the 80 inch piece of nylon through the other end of the slide release buckle. Fold the end of the nylon nearest the buckle over twice and sew down. Fold over once the other end of the nylon and sew it to the fabric rectangle at the 25 inch mark using a box with an X through it.
Measure the location of your back seat’s head rests. Sew a 30 inch piece of nylon strapping to the rectangle in a horseshoe shape where it will be able to loop over the head rests to keep the back of the seat covered. You should sew each end of the horseshoe shape using the box with an X through it for maximum security.
That’s it! A DIY back seat protector to keep your ride clean and your pooches happy. Isn’t the bones and bandana fabric cute, by the way? :)
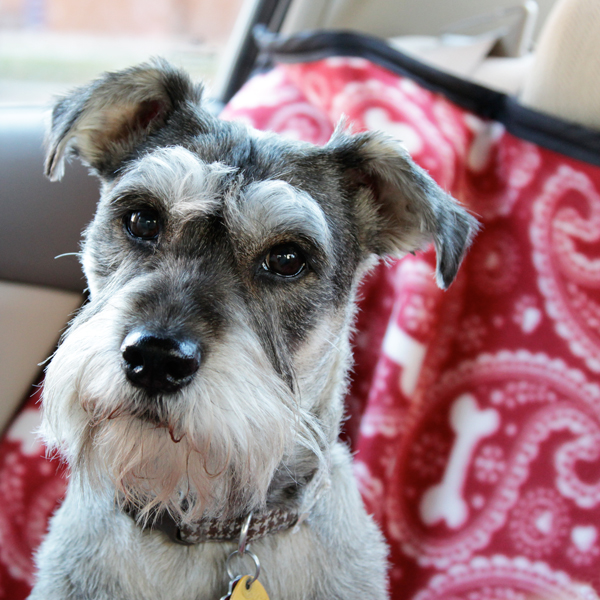
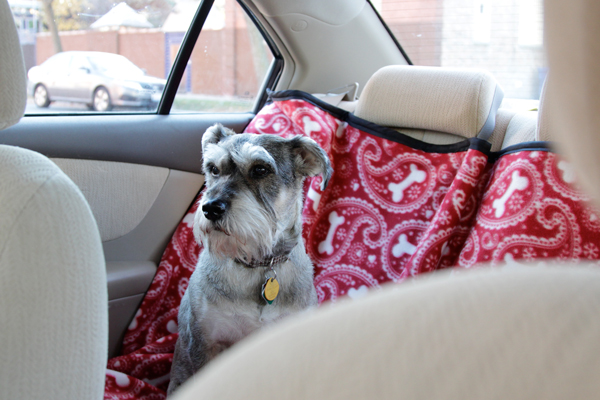
Storm, unlike Woodrow, does not fear the sound of a camera shutter.
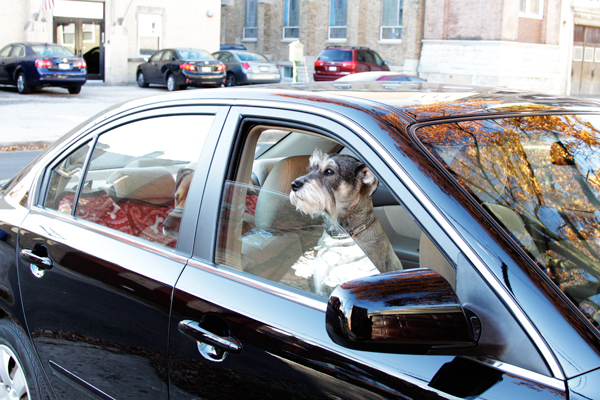
Nor, apparently, does she fear the open road.
This post is sponsored by Kia.


So I’m interested in trying to make this, but I can’t figure out what the 80 inch nylon strap at the 25 inch mark is there for. Do you fold down your seat and wrap the strap around the whole seat-back? I also don’t understand why the size of the project is the height of the backseat X 2 + the depth of the backseat. Are you talking about the distance from the floor to the backseat + the depth of the backseat + the height of the back of the backseat?
Thanks!
Hi M!
Yes, the strap straps behind the entire backseat if you’ve got one that flips down. I included it since mine does, but also in case I ever need to take my dogs in a friend’a car on a trip and need to step it to a SUV seat or something like that.
I included the back seat height twice so that the cover would hang down to the floor for extra protection. You can really customize this basic pattern however you like! You can also include a second
set if nylon “horseshoes” – as I called them – on the other end of the cover to make the cover rotatable. You can also use a second set of “horseshoes” to hook the far end onto the front seats’ headrests, creating a sort of hammock, like this: http://pinterest.com/pin/63472675971529111/
Thanks for your great questions- let me know if the link doesn’t work for you.
Heidi :)
Awesome!! I’ve linked to your tutorial over at Craft Gossip: http://sewing.craftgossip.com/tutorial-back-seat-cover-to-protect-your-car-from-pet-hair/2013/11/17/
–Anne
Thanks, Anne! You’re the best :).
On way to car wash to vacuum car, Joanns for fabric and home to make this!!
Awesome! When you make it, I’d love to see some pics! I’ve got a reader gallery I’m always looking to share people’s projects in :) -Heidi
Made it!! Pics later – but wanted to let you know my variation – I put elastic on the top instead of a buckle – slides over the headrests and a bit easier :)
This looks great! I will give this a try for our dog (a Dalmatian that really sheds). I think I will make mine with some slits for the seat belts. Our dog wears a harness with a seat belt attachment, so the slit will be necessary to access the receiving side of the buckle. Also, I am thinking of using fleece. Slits will be easy with that since fleece doesn’t ravel. Any thoughts or suggestions for me before I get started? :-)
That sounds great- just remember to get enough bias tape to cover those openings! I’d love to see it when you’re done :)
Hi! I’m just wondering if you know anyone willing to sell these? I would love one and do not have the time to make one.
Thanks so much,
Teresa
I’ve seen similar items on Etsy and Amazon – just search for them and a few options come up. Best of luck!